Laugavegur Trail Guide: The Best Multi-Day Trek in Iceland
Hey traveler! As a Biochemical Engineer, I love optimizing things—including the perfect travel experience! This post contains affiliate links, which means I may earn a small commission if you book or buy something through my links, at no extra cost to you. I only recommend travel experiences I truly believe will make your adventures even better. Your support helps keep Beauty and the Bucket List running—thank you!
Imagine a trail where steam billows from vibrant moss-covered mountains, painted a rainbow of otherworldly hues. Black volcanic sand stretches along the horizon, stopping at the glimmering blue foot of a monumental glacier. Raging rivers carve the landscape, ebbing tenaciously with the rainfall.
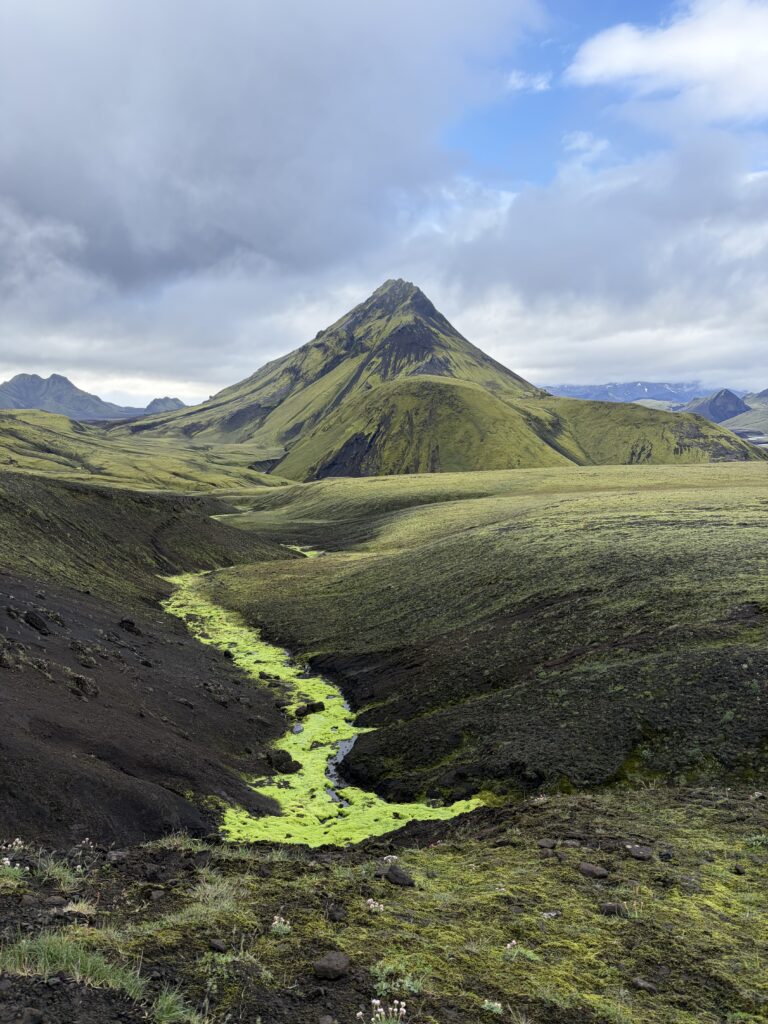
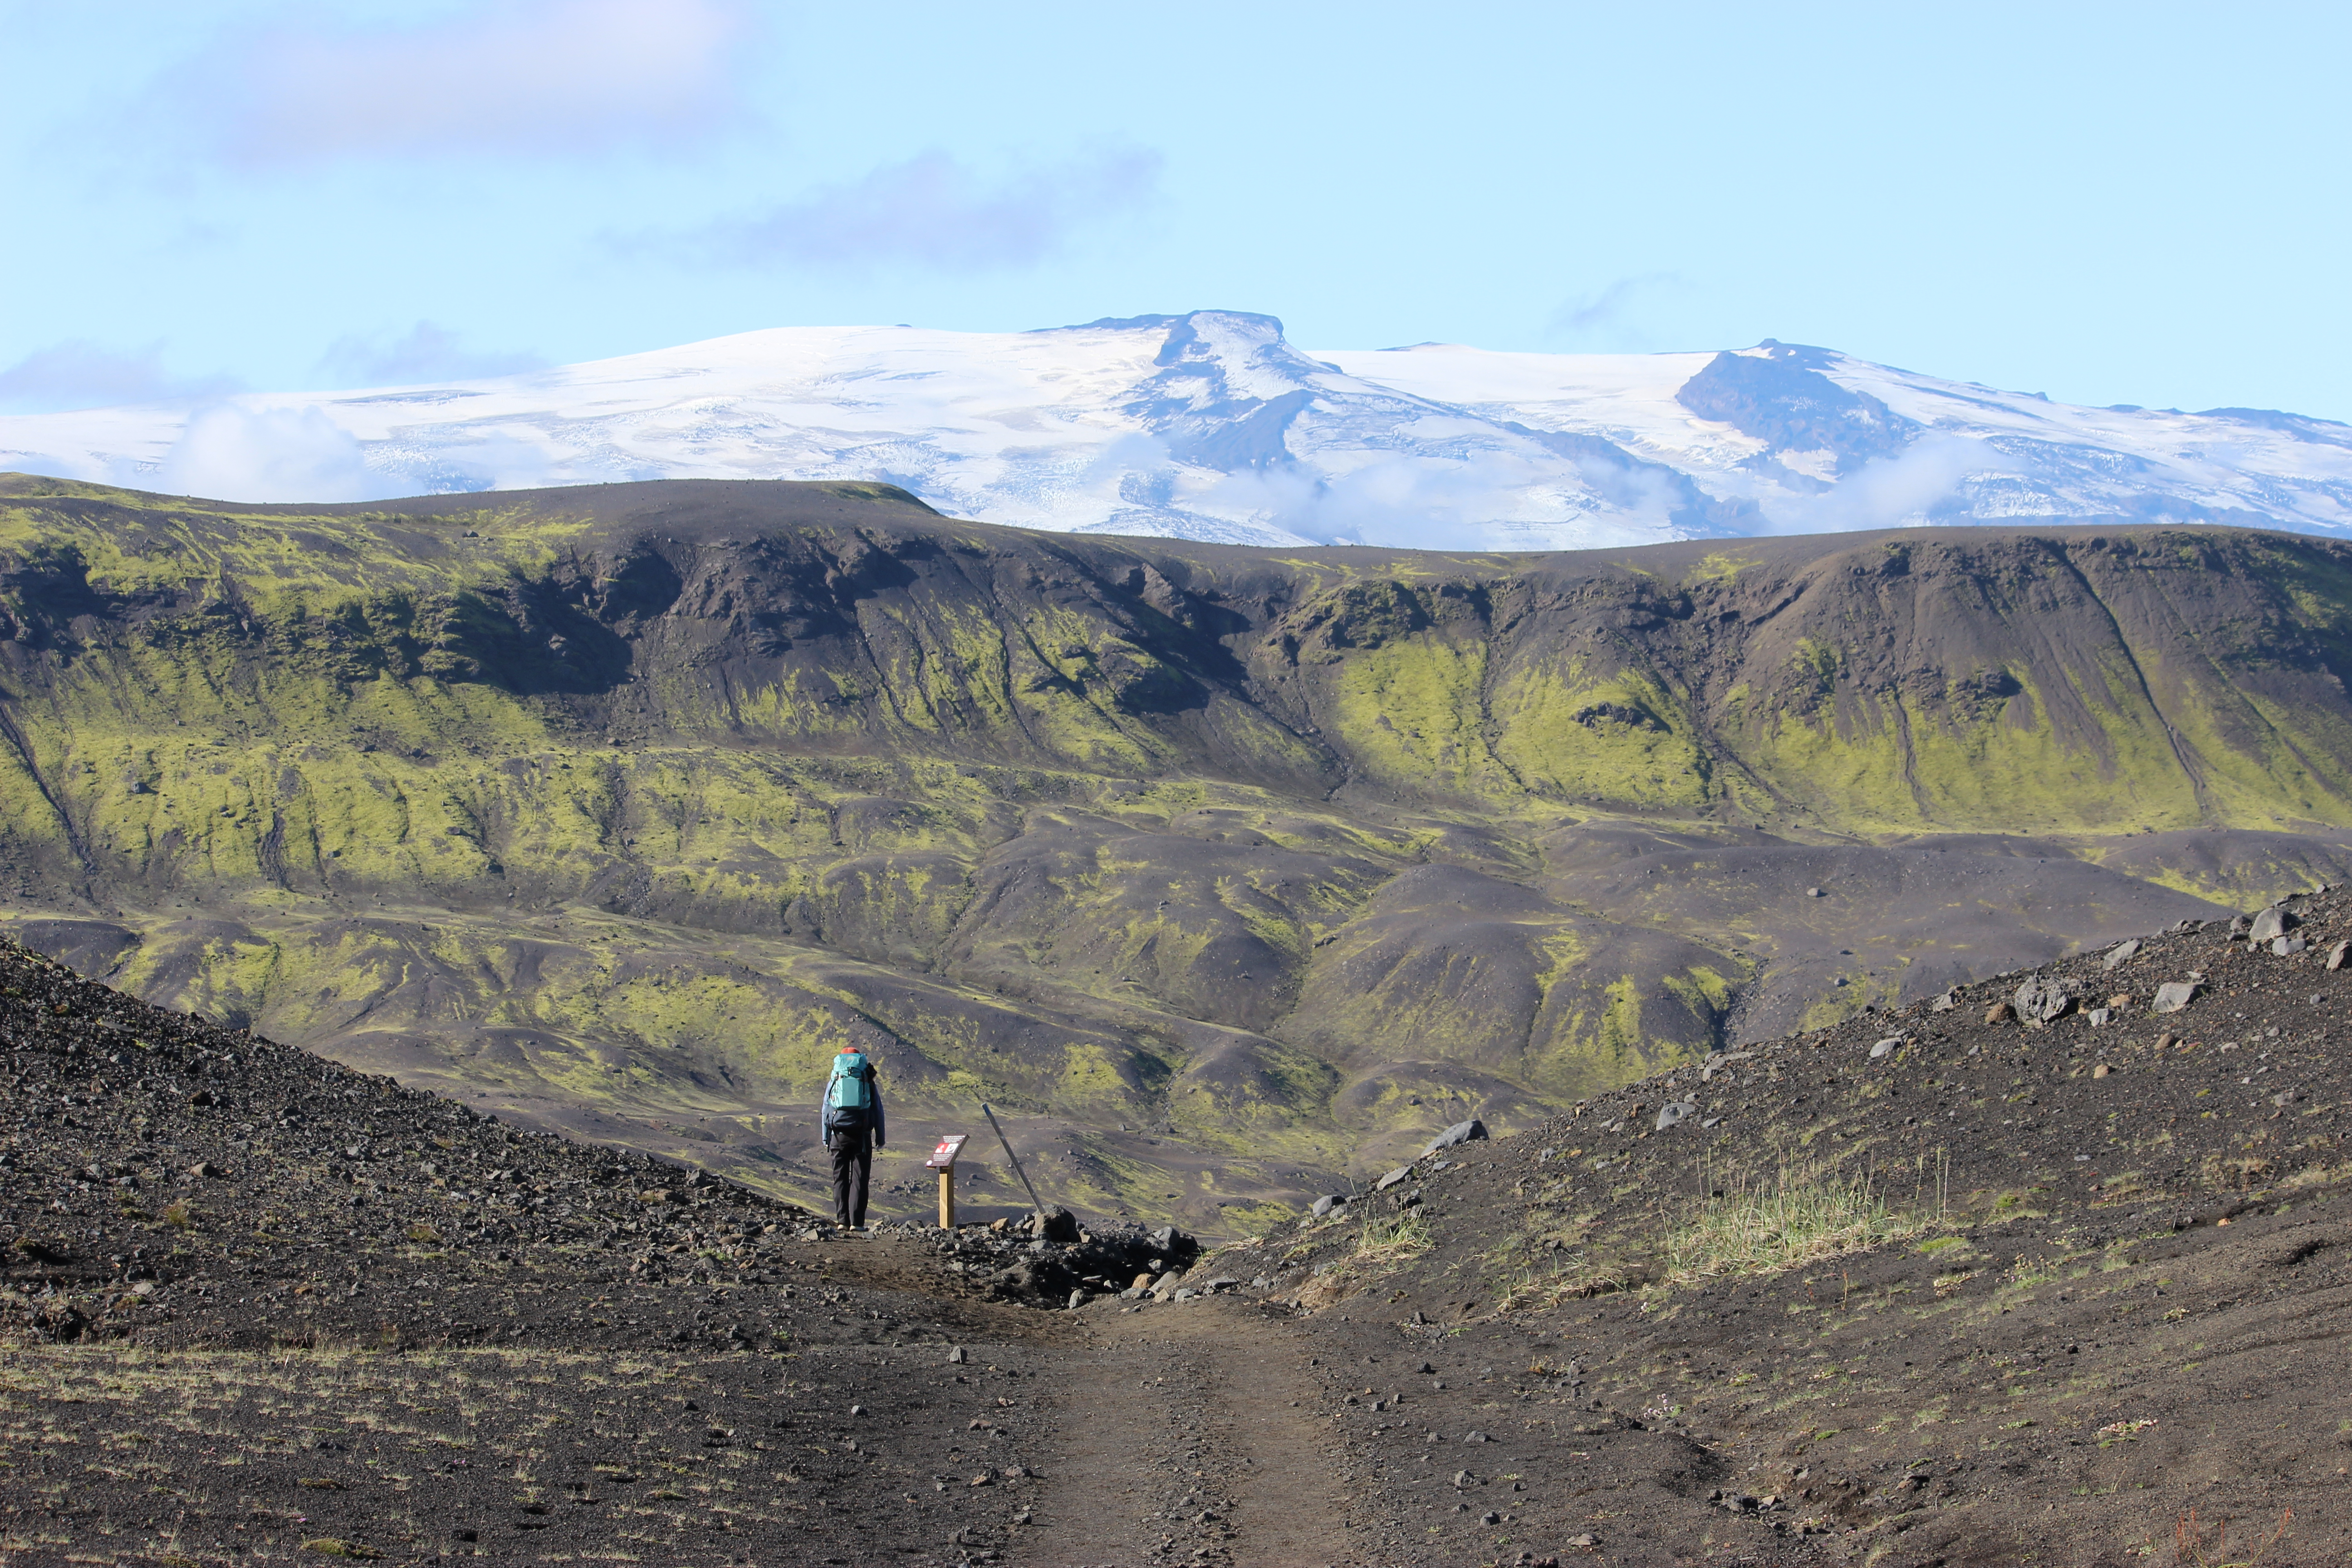
There’s a multi-day trek in Iceland that showcases these otherworldly landscapes. Steaming mountains, vast fields of black volcanic sand, and formidable rivers don’t sound so mythical when you’re actually walking on the Laugavegur Trail, a 55-kilometer trail through the Southern Highlands of Iceland.
Deemed one of the most incredible multi-day treks in the world by National Geographic, I needed to discover this incredible hut-to-hut hike in Iceland for myself. At the time of my hike, my trekking experience was limited, but I knew that with the proper gear, hut reservations booked six months in advance, and an I-can-do-anything mindset, I would make the most of this incredible 55-kilometer journey.
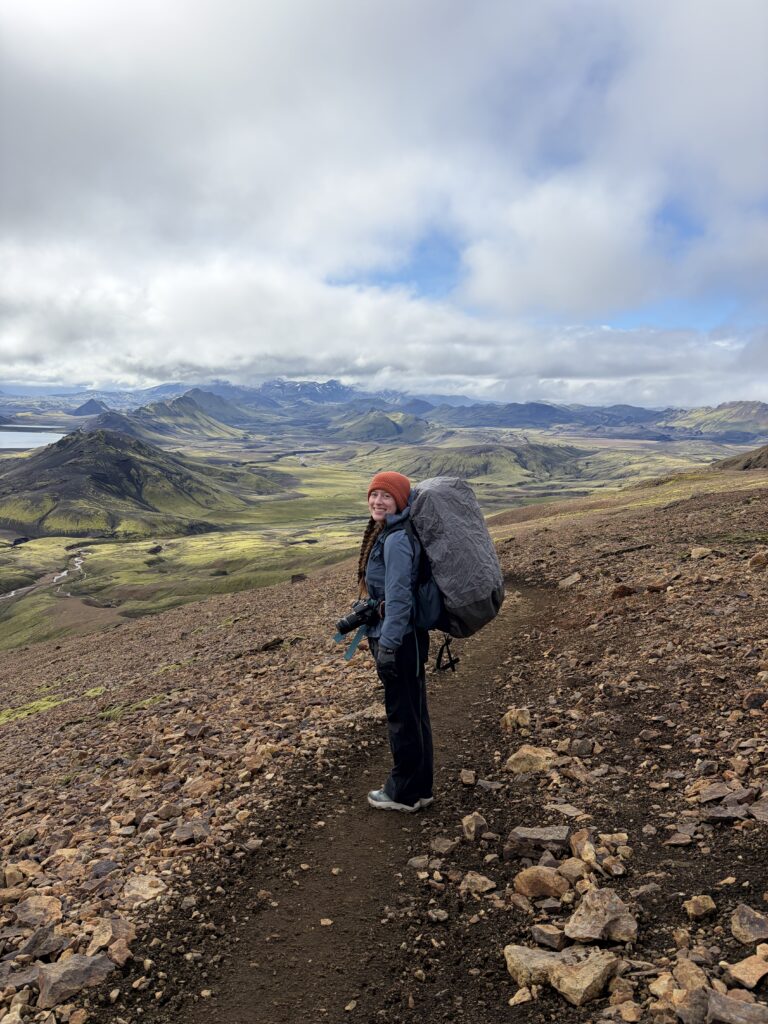
A journey it was! I pushed the limits on what I thought I could do – starting with carrying a way-too-heavy 55L backpack 12-17 kilometers everyday – and learned some valuable lessons for any future hut-to-hut treks. Most importantly, I verified the cliché: I can do anything became a real, practiced mantra while I was hiking Laugavegur self-guided through the unforgiving Icelandic weather. Four seasons in a single day? I can handle it (with my thrifted rain paints)!
This Laugavegur Trail guide provides all the information you need for Iceland’s best multi-day trek: when to hike, how to get to/from the trail, a look into each segment and even some info about each Laugavegur hut. Hiking the Laugavegur Trail self-guided is the perfect way to discover the beautiful landscapes of the southern highlands at your own pace. Once you finish the 55-kilometer trek, you’ll feel empowered to chase any dream, even if the weather attempts to stop you (which might actually happen on the Laugavegur Trail!).
Laugavegur Trail Overview
Don’t have time to read the full article? Here’s a Quick Look at the trail stats.
Trail Distance: 55 kilometers (~34 miles)
Total Elevation Gain: ~1,700 meters (~5577 feet)
Trail Type: Hut-to-Hut
Start/End: Landmannalaugar to Thorsmörk (or you can hike in reverse!)
Diffuculty: Moderate
When to Hike: Summer (late June to mid September, weather dependent)
Approximate Trek Cost: $130-$140 per hut (~18,000 ISK), $25-$30 for tent camping at each hut (~3,600 ISK) (USD)
Can Anyone Hike the Laugavegur Trail?
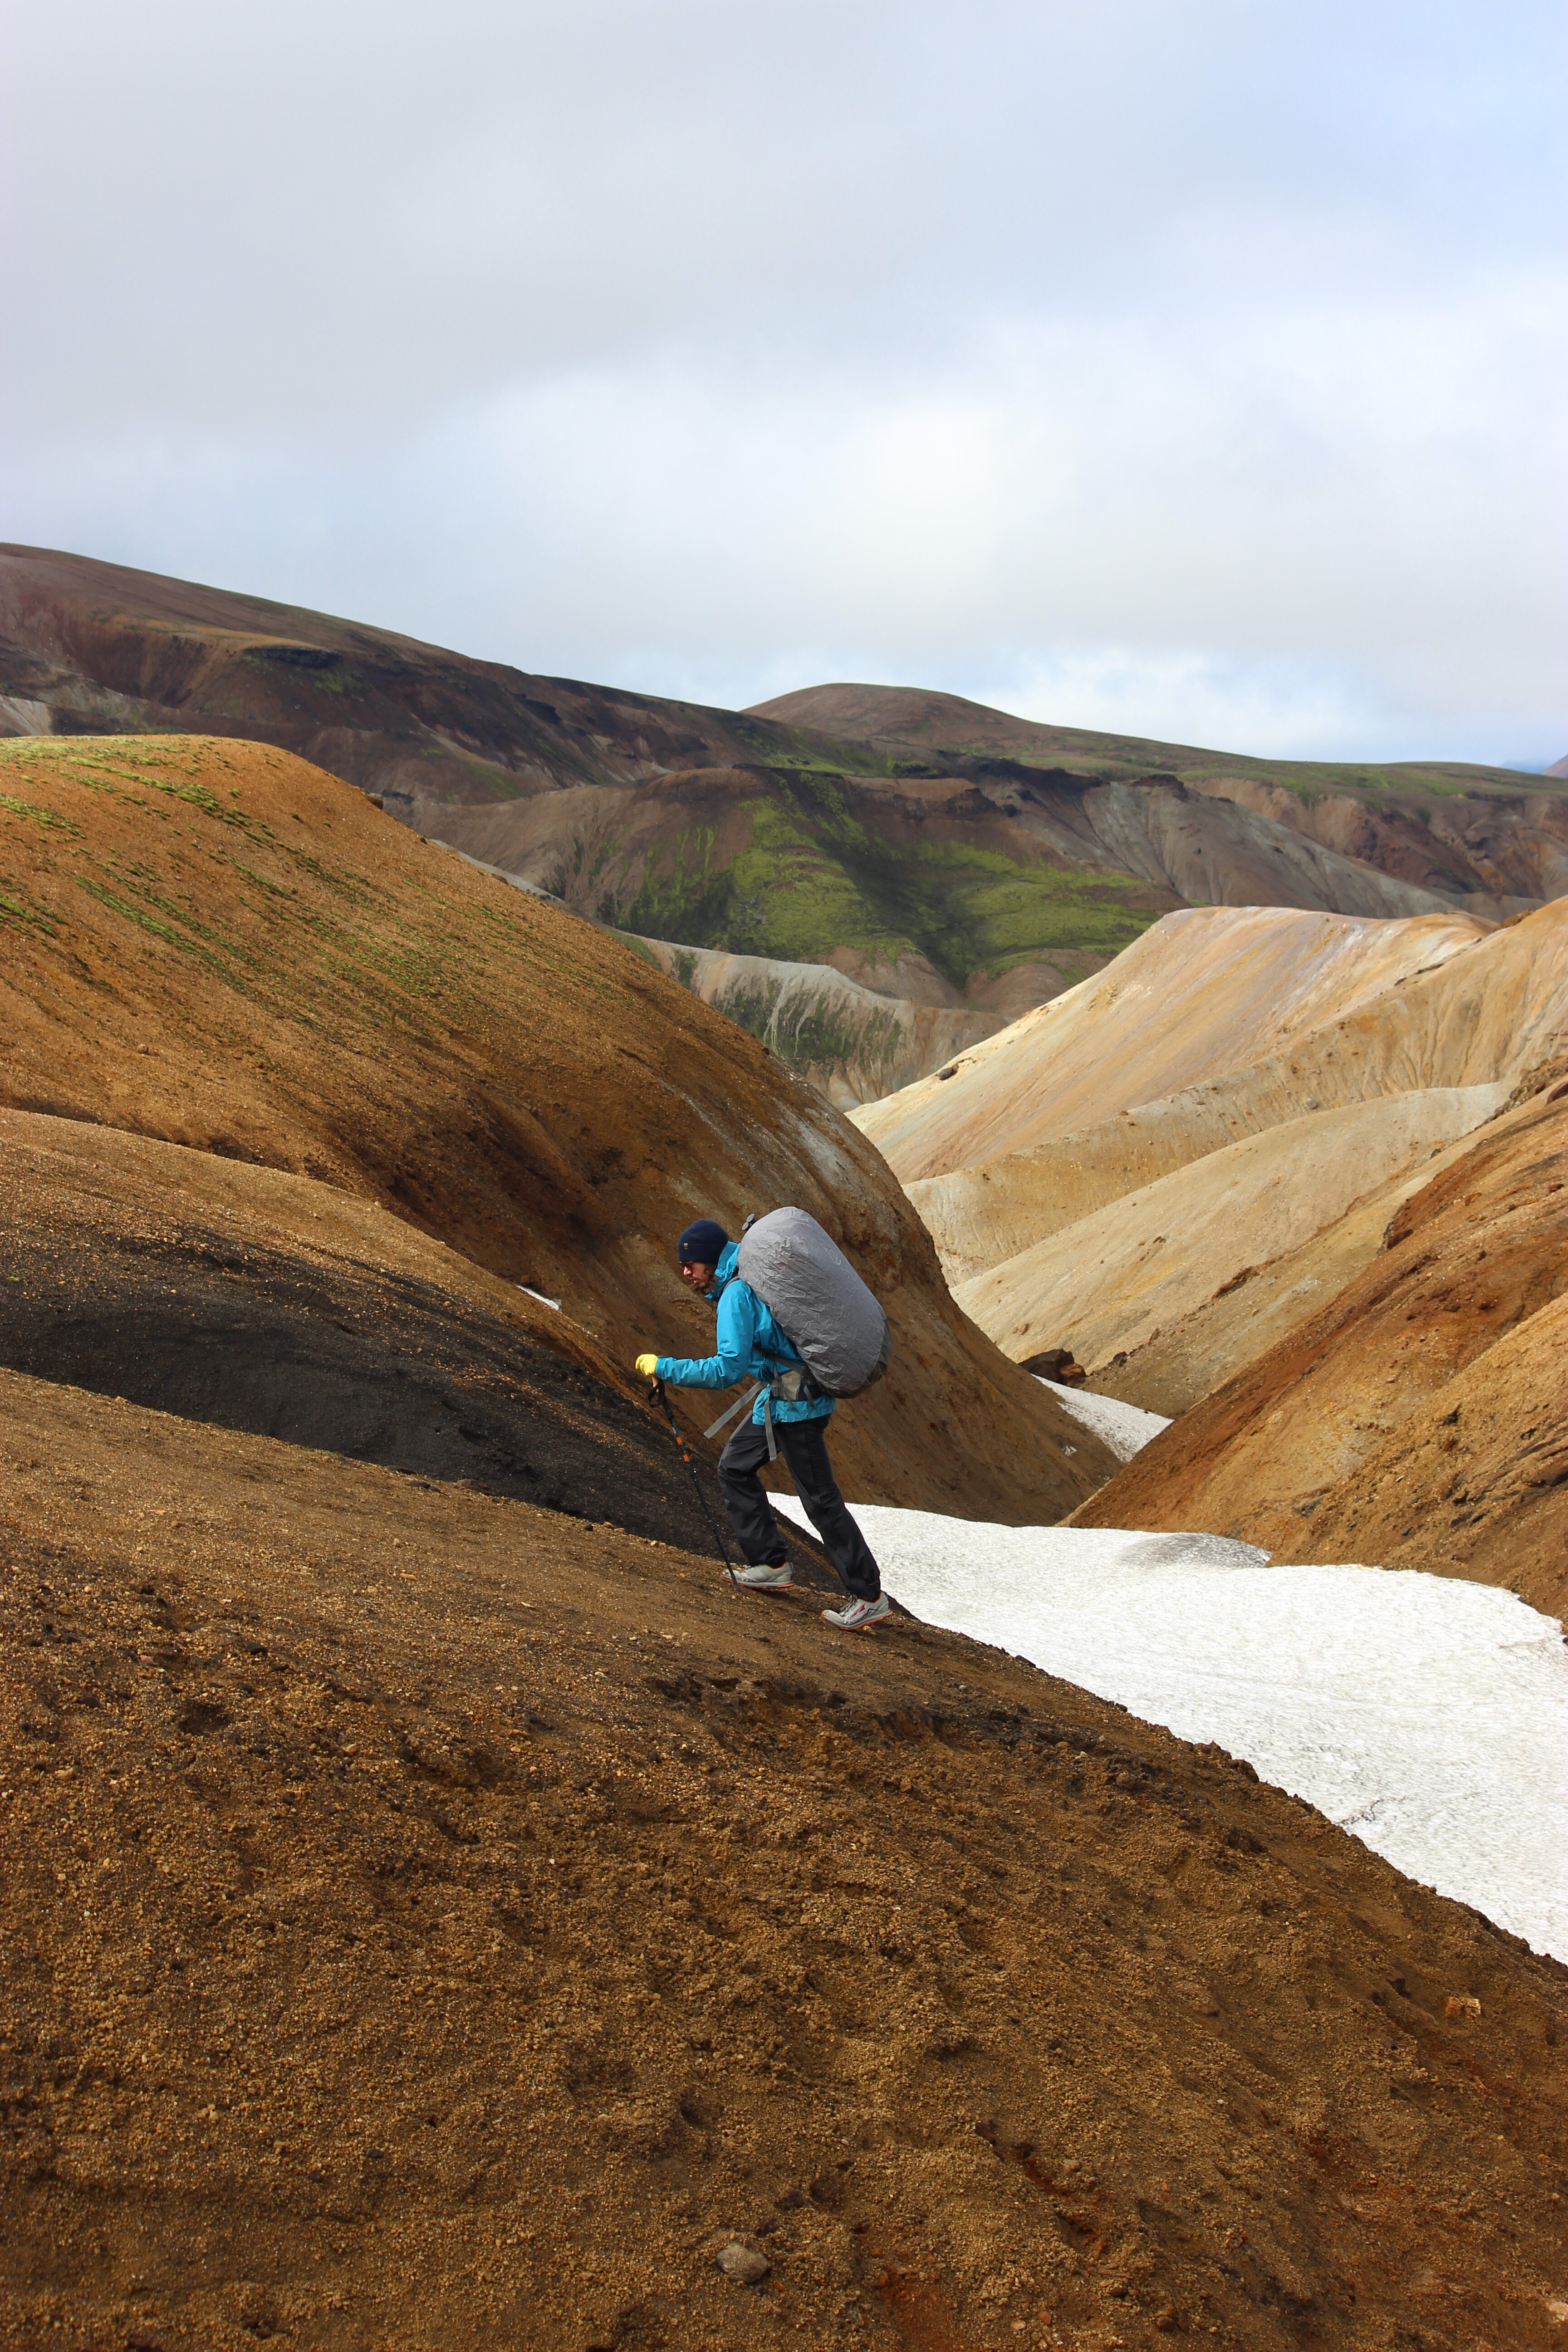
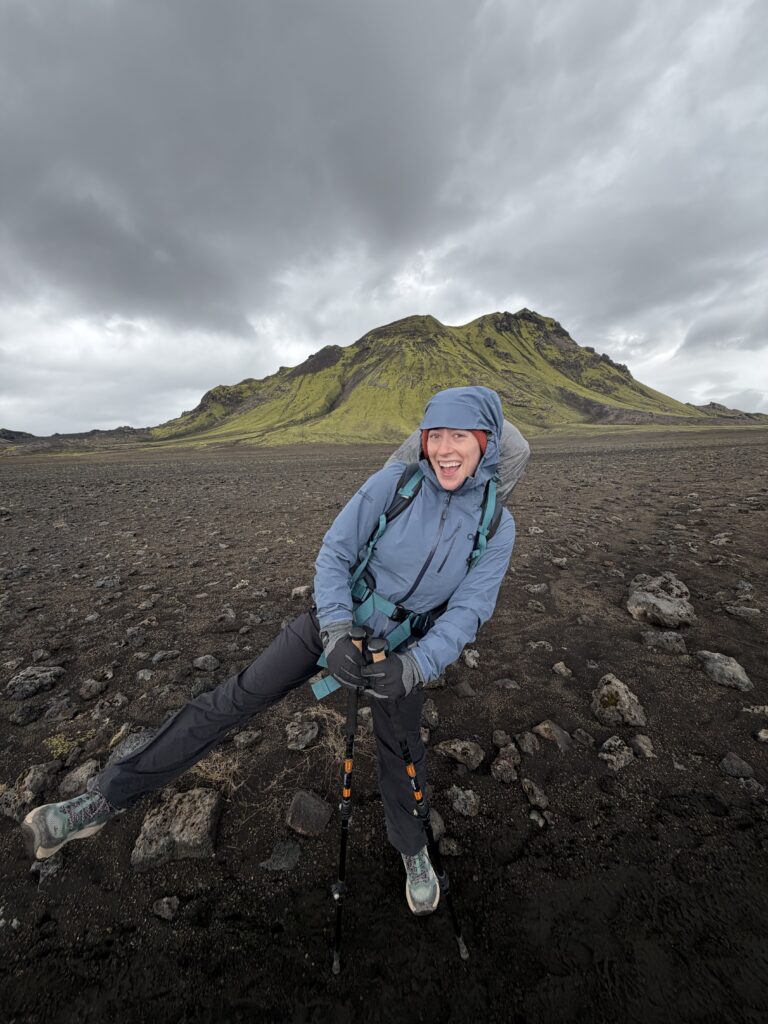
With the necessary gear, anyone can hike the Laugavegur Trail. Before hiking this multi-day trek in Iceland, I had never done any hut-to-hut backpacking. Traveling from Colorado, I was well-equipped to handle elevation gain, even though Iceland doesn’t have much of it (most of the elevation gain on the Laugavegur Trail is on the first segment, the rest is minimal with some rolling terrain). I was an occasional hiker who didn’t truly own a pair of hiking boots before the Laugavegur Trail – in fact, I’ve hiked many mountains (and volcanoes!) around the world in a dusty pair of AF1s. I hoped my once-a-week Pilates class was enough for me to be considered “fit enough” to complete the trek.
In my opinion, the Laugavegur Trail is a great trek to start with if you’re just starting out with multi-day hut-to-hut trekking. Over the duration of the 55-kilometer trail, the total elevation gain is only about 1700 meters, and most of it is a gradual ascent the first day. The rolling terrain for most of the trek makes it a perfect trail for travelers to test out carrying a backpack for multiple days of trekking.
For me, the hardest part of the Laugavegur Trail was the drastic changes in the weather all the time. Having been to Iceland before, I knew about the violent winds and the sometimes-sudden torrential rains – and for those conditions I was well-prepared with rain gear and merino wool base layers. Trekking through the southern highlands, you must place little expectations on the weather forecast and always have your rain gear accessible. As long as you pack the right gear, I believe anyone can hike the Laugavegur Trail.
If you’re just starting out with multi-day backpacking consider staying in the huts rather than camping. Iceland has some unforgivable weather which can be challenging for inexperienced campers!
When to Hike the Laugavegur Trail
The Laugavegur Trail is only open from late June to mid-September, the summer months, when Iceland’s F-roads are passable and the trail is safe for hikers. The trail is not open from late September to early June because of treacherous conditions. Since the window for hiking the Laugavegur Trail is so short, only about 2.5 to 3 months, anytime within this timeframe is perfect for hiking the trail.
Hut reservations are challenging to secure, so availability might dictate when you hike the Laugavegur Trail. After waiting in the reservation queue for several hours, I secured a five-night hut package in late August starting at Landmannalaugar and ending in Thórsmörk. Late August was a great time to hike the trail because the rivers were relatively easy to cross, with much of the snow having already melted in the previous months. During the early Laugavegur Trail season, late June through July, snowmelt fills the rivers, which sometimes leads to difficult crossings.
Weather on the Laugavegur Trail
The Icelandic summer often looks a lot different than traditional European summers, especially in the Southern Highlands where weather can be unpredictable and change dramatically.
While hiking the Laugavegur Trail, I found the weather apps to be inconsistent. Sometimes the forecast would call for heavy rain, but the sun would shine through the clouds warming our weather-resistent shells and drying our damp boots from the day prior. Other times, we would think we’d get lucky with a rain-free day, but find ourselves pulling out our rain gear as ominous clouds rolled in.
The best thing you can do to prepare for the Laugavegur Trail weather is to pack for ALL four seasons. On my first day hiking the Laugavegur Trail, I experienced rain, snow, sleet and sunshine while passing through the steaming mountains on Segment 1 from Landmannalaugar to Hrafntinnusker. The following day was pleasantly sunny and “warm” (for Icelandic standards…but I was still bundled up in my wool base layers and rain gear).
How to Get to/from Laugavegur Trail from Reykjavík
Both the start and end of the Laugavegur Trail are only accessible by F-roads, Iceland’s rugged, unpaved roads leading to dramatic landscapes and off-the-beaten-path destinations. F-roads, or fjall (mountain) roads, require a heavy-duty 4×4 vehicle that can handle tumultuous terrain and cross raging rivers. A standard rental vehicle usually cannot handle these roads.
Since the Laugavegur Trail is a hut-to-hut trek (point-to-point) and not a round-trip loop, you’ll need transport to/from the start/end of the trail. For hikers completing the Laugavegur Trail self-guided, there are two major shuttle bus companies that bring travelers to/from the Laugavegur Trail start/end. You can book shuttles from Reykjavík to Landmannalaugar (Laugavegur Trail start) and Thórsmörk to Reykjavík (Laugavegur Trail end) with Icelandia or Trex. These highlands buses are sturdy and can cross through raging rivers, terrain that travelers should not attempt to cross in a standard vehicle.
If you’re hiking the Laugavegur Trail with a local guide, your guide company will provide transport to/from the trail start/end, likely a small-group shuttle.
Huts vs Tents: Which One Should You Book?
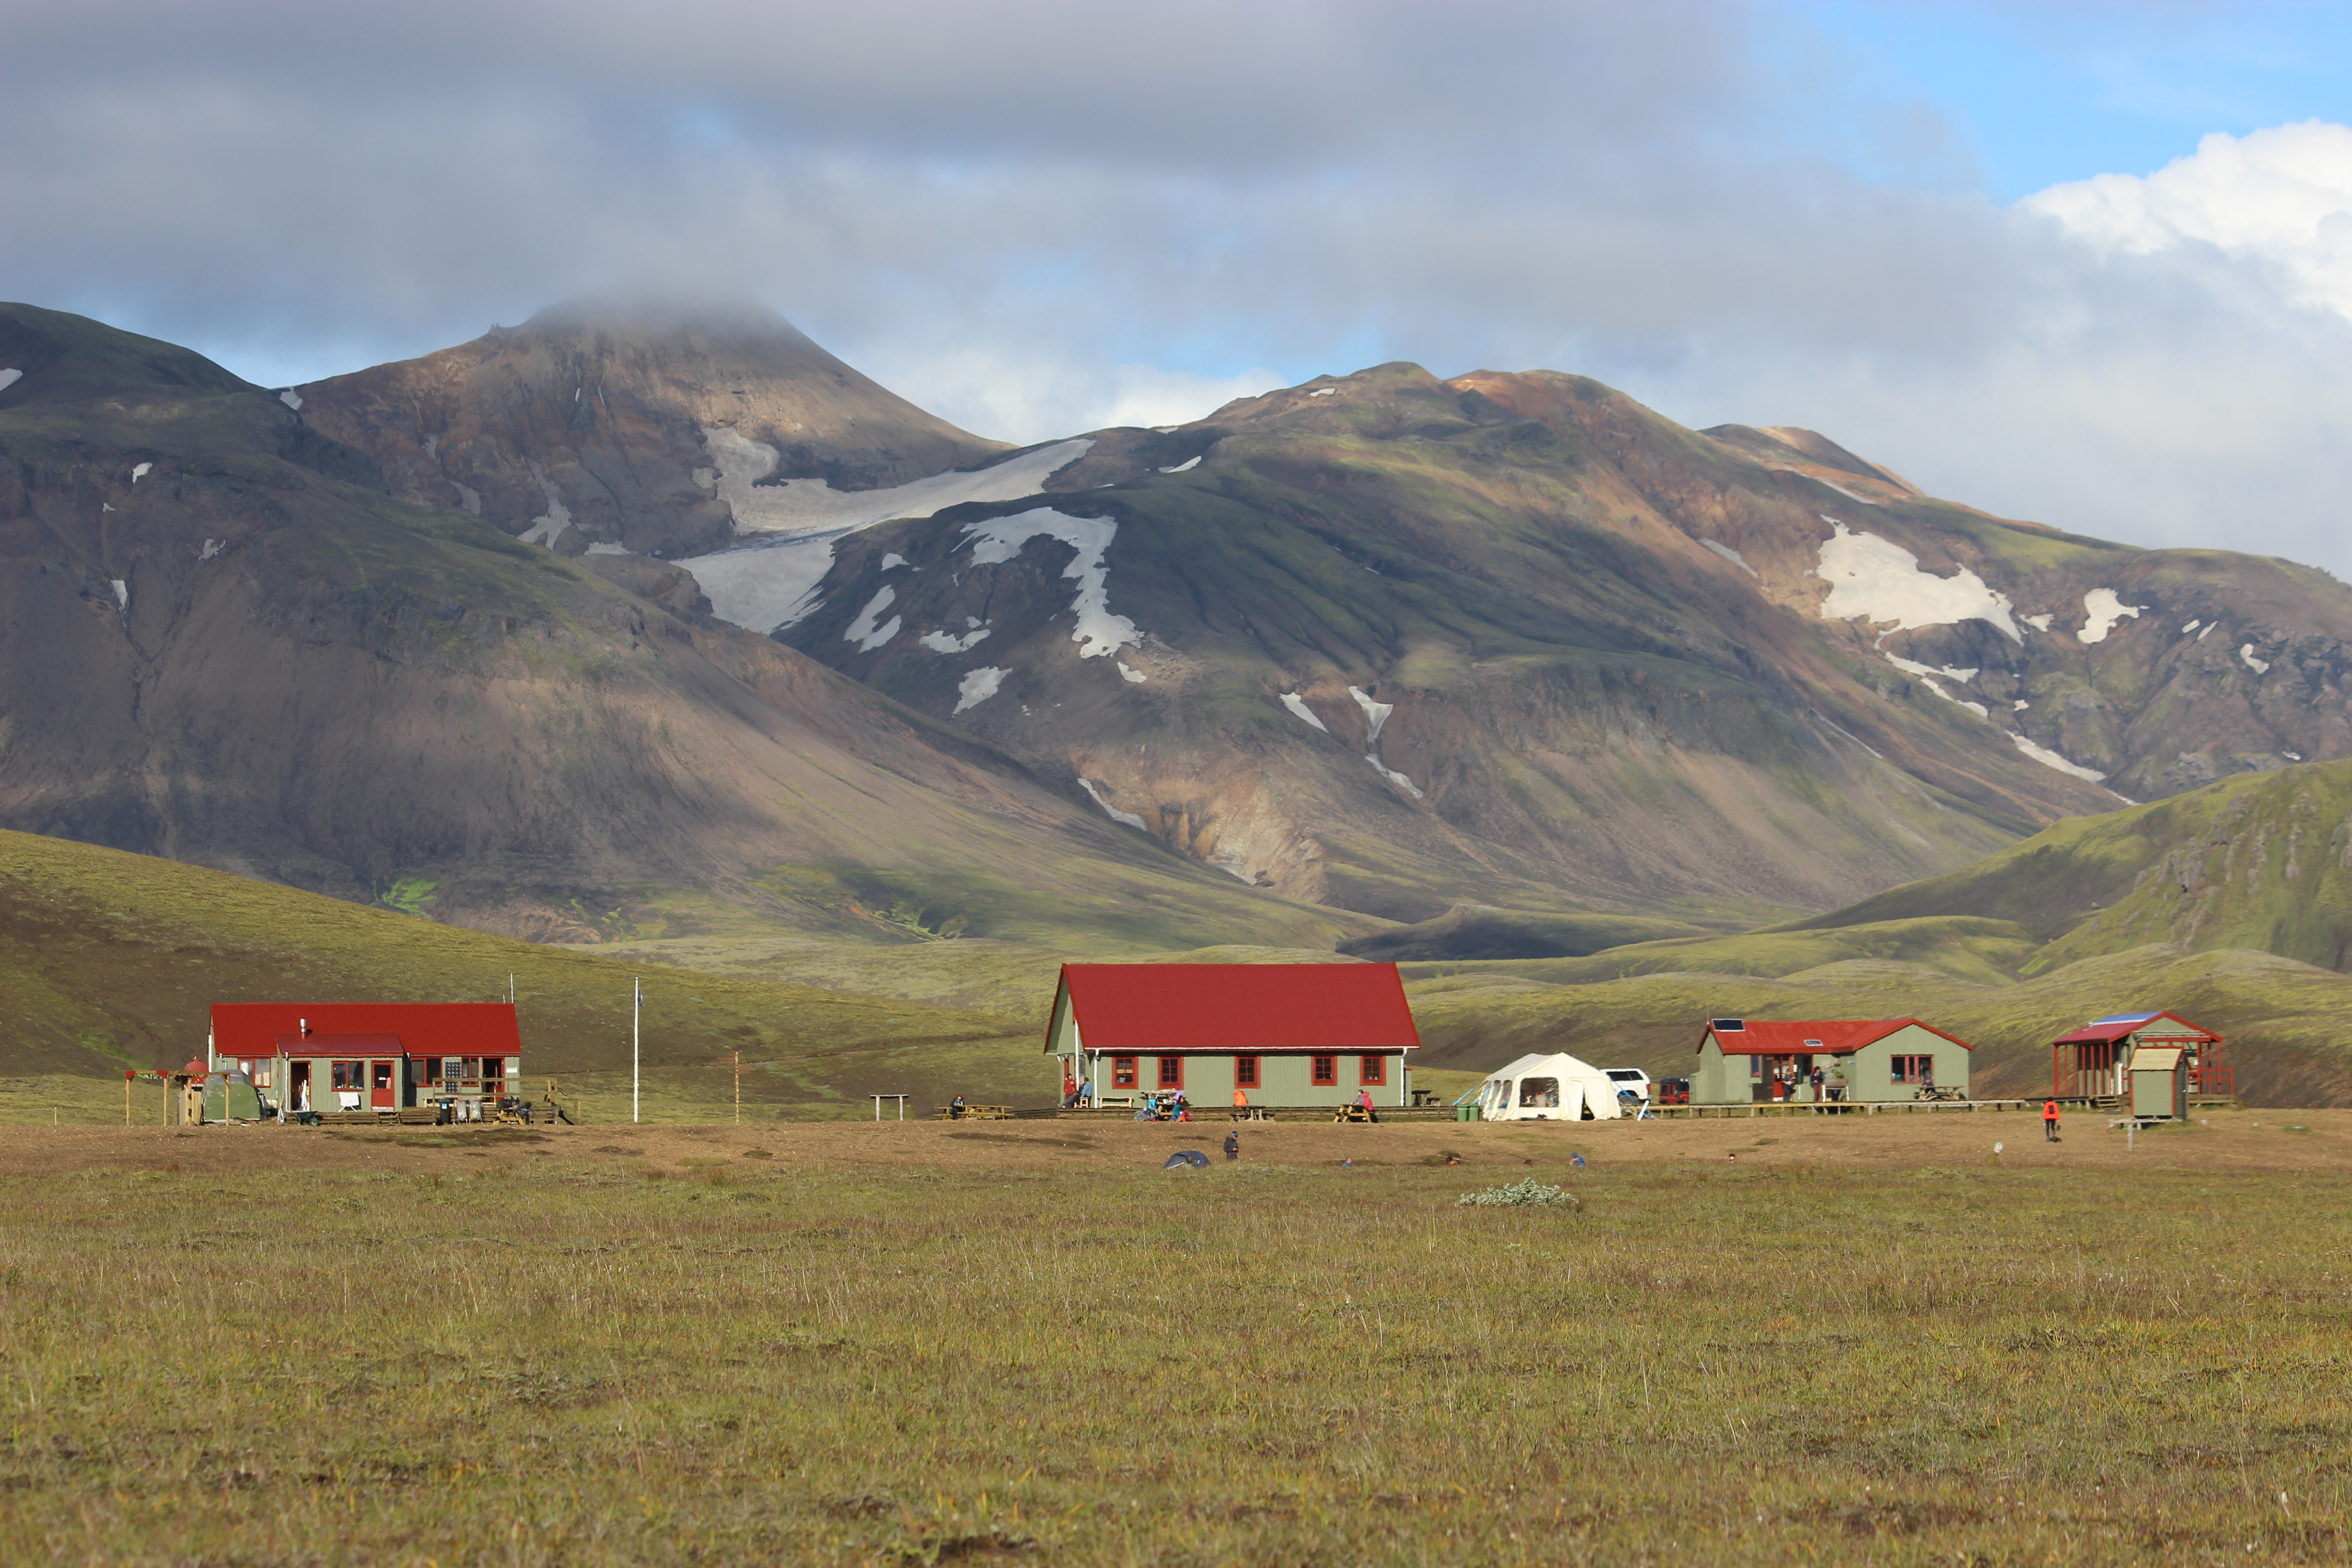
For the multi-day Laugavegur trek, there are two options for accommodation on the trail: you can either reserve and stay in huts or bring a tent and camp in designated areas at each hut location.
Since the Laugavegur Trail was my first multi-day hiking trail, I chose to stay in the cozy huts at each segment of the trail. I am less comfortable in a tent (call me Princess Insomnia!), and knowing that Iceland’s weather can change dramatically, I wanted accommodation that would protect me from the elements.
Laugavegur huts range in price from $130-$140 USD (~18,000 ISK), so if you book a five-night package which includes hut accommodation at the start and end of the trail, Landmannalaugar and Thórsmörk, you can expect to pay between $650-$700 USD. Camping is significantly cheaper, $25-$28 USD (~3,600 ISK) per campsite, a budget-friendly option for travelers who want to save money and backpack the traditional way.
Whether you choose to stay in the Laugavegur huts or bring a camp and “rough it” is entirely up to you and your budget/comfort level. Huts and tent camping both have their pros and cons. Choosing the hut option requires you to book your Laugavegur hiking package several months in advance. I bought my hut reservations six months prior to my trek. Camping in a tent in designated areas allows you to be more flexible and costs significantly less!
Laugavegur Trail Itinerary: A Look at Each Trail Segment
Segment 1: Landmannalaugar to Hrafntinnusker
- Laugavegur Segment 1 Distance: 12 kilometers
- Total Elevation Change: Approximately +500 meters (Start: ~600m at Landmannalaugar, End: ~1100m at Hrafntinnusker)
- Time to Complete: ~4.5 hours (I started at 9:15am, ended around 1:45pm)
- Landscapes: Colorful geothermal mountains billowing with steam, vast lava fields, glacier crossings
- One Word to Describe it: COLORFUL
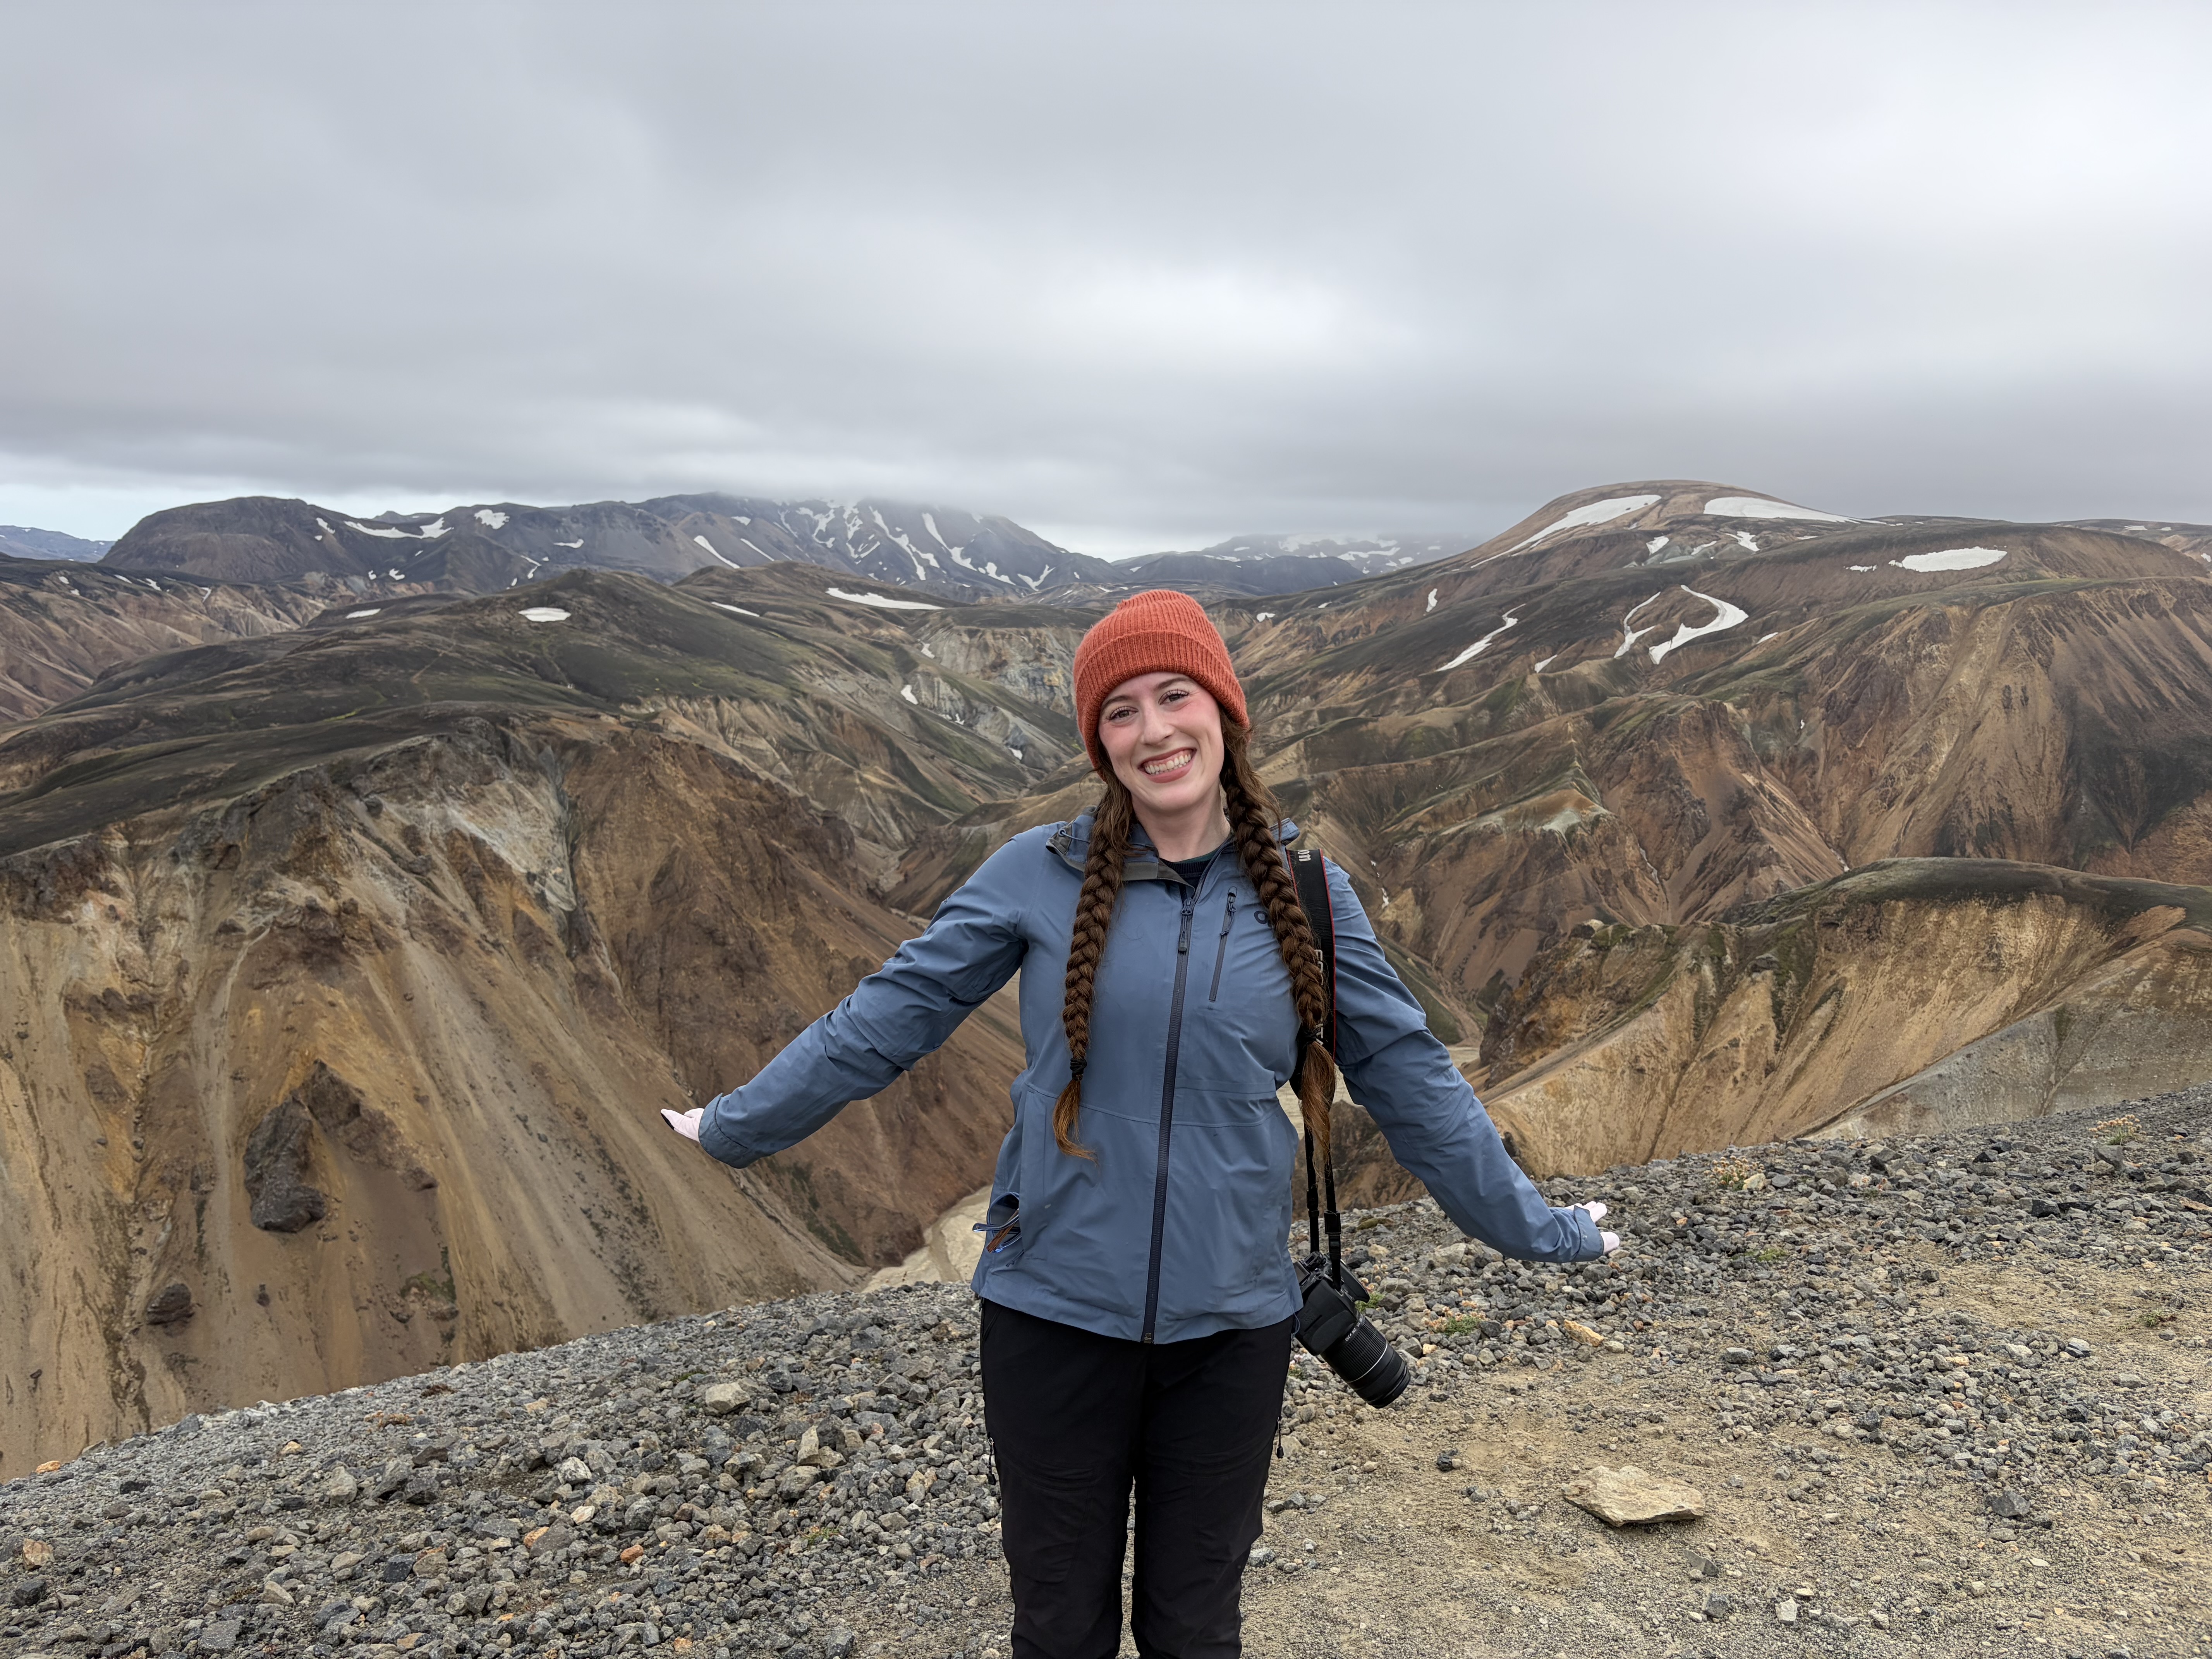
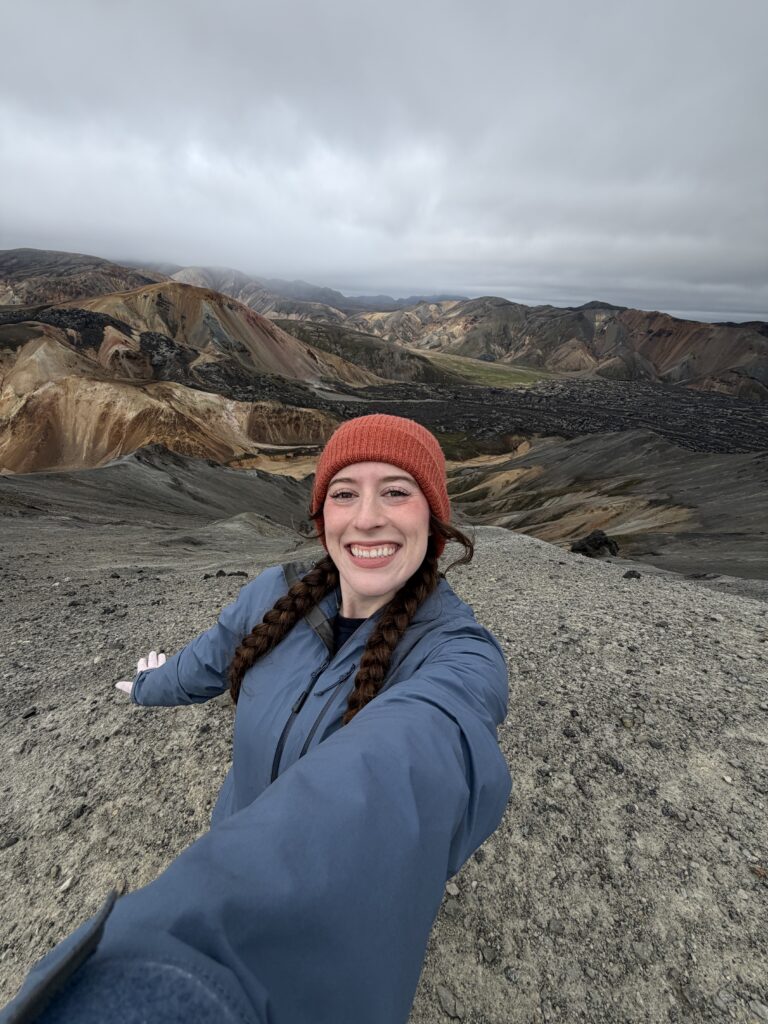
Driving from Reykjavík to Landmannalaugar, I had no idea what to expect for my first multi-day trek. I had seen incredible photos of the Laugavegur Trail in Iceland with hikers ascending colorful geothermal mountains and crossing through lava fields. I knew it would be an unforgettable, scenic journey!
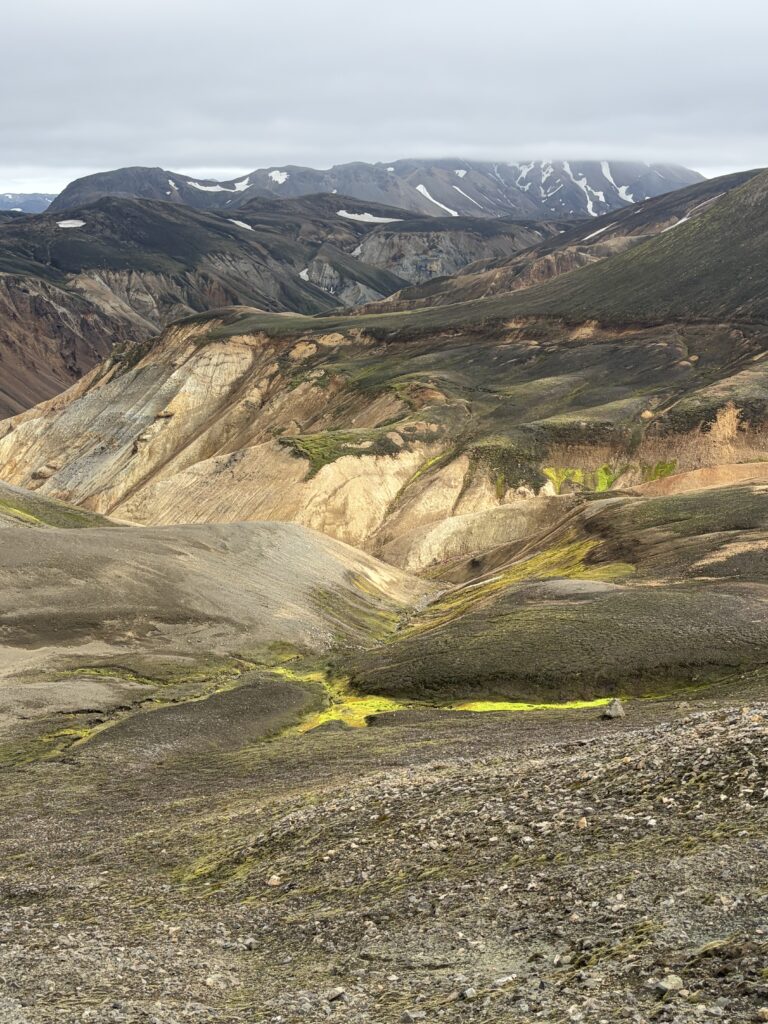
The bus ride to Landmannalaugar confirmed that. The highland bus, packed with eager hikers and their full packs, passed through small towns where the surrounding mountains steamed as if sitting above a pot of boiling water. As we ventured closer to Landmannalaugar, pale green moss blanketed rugged volcanic stone fields and low-hanging clouds cast an ethereal glow on the landscapes.
Surrounded by mountains a rainbow of colors, dusty orange, dull teal and lunar grey, Landmannalaugar appeared to be a place not of this world. What an incredible place to start a multi-day trek I thought to myself! Landmannalaugar has a natural hot spring and a small hut with “luxury amenities” (a separate hut with flushing toilets and showers).
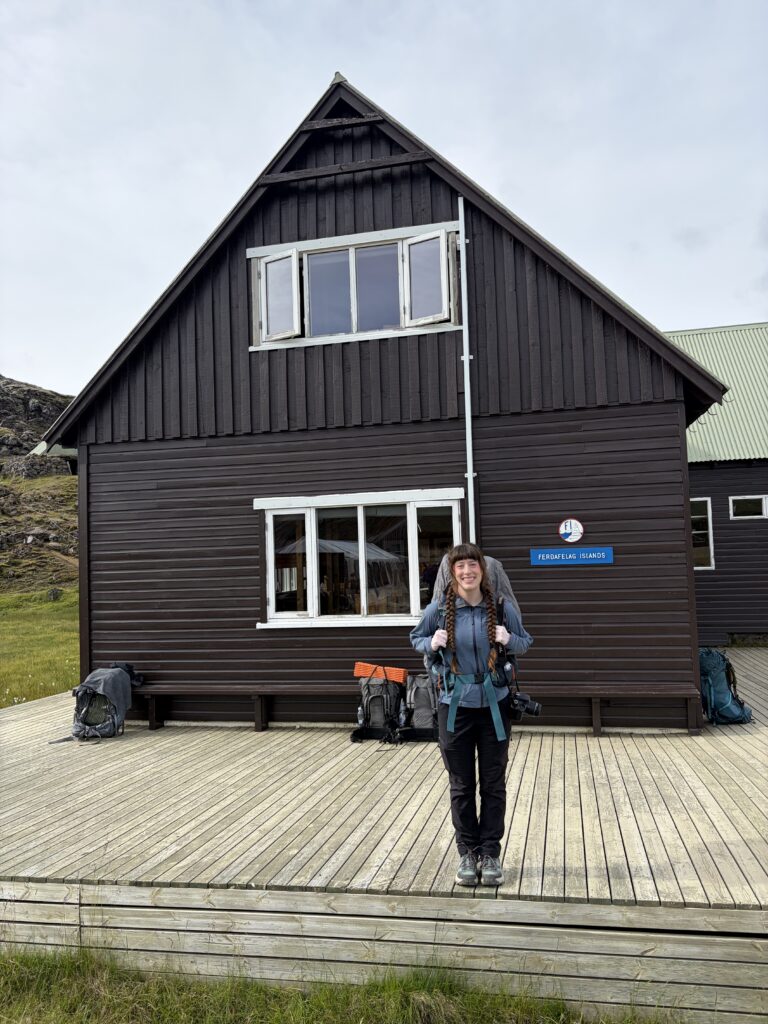
Most travelers arrive at Landmannalaugar and stay the night in the hut (or camp) before starting the Laugavegur Trail the following day, but a daring few will arrive after a four-hour bus ride and begin Segment 1 immediately. I did the former because I wanted to hike the nearby trails and enjoy the free natural hot springs. If you plan to hike the Laugavegur Trail and stay in the huts, I highly recommend booking a package that includes one night at Landmannalaguar hut.
Segment 1 of the Laugavegur Trail is approximately 12 kilometers and traverses through geothermal landscapes from Landmannalaugar to Hrafntinnusker. Most of the elevation gain occurs on Segment 1, starting at around 600 meters and climbing to 1100 meters (500-meter gain). Beginning right behind the Landmannalaugar hut, the trail starts by passing through a vast field of archaic lava stones covered in pale moss. Mountains of every color ascend into the sky and pockets of steam billow to greet the clouds. You’ll ascend beside Brennisteinsalda peak, a Rhoyalite mountain striped with minerals, and Bláhnjúkur Peak, the blue mountain, is visible in the distance.
Around 4.3 kilometers into the trail, signpost #5, you should be able to see Landmannalaugar and the surrounding mountains in a picture-perfect landscape view.
Because Segment 1 climbs in elevation, you’ll want to have your layers and rain gear handy. After departing Landmannalaugar, the wind and rain quickly tried to ruin the fun. With waterproof pants, my rain jacket and a pair of latex kitchen gloves (part of my Laugavegur packing list), I was prepared for the gloomy weather. Heavy fog can quickly descend during this segment, obstructing your view of trail markers, so I recommend downloading the All Trails map of the Laugavegur Trail in case trail markers are hard to find.
As you continue into the highlands, geothermal hot springs scatter the landscape and whorls of steam billow from the mountains. As the elevation continues to climb, snow may be possible in the forecast. I experienced both rain and snow on Segment 1 of my hike. Eventually the landscapes change dramatically from colorful, moss-covered geothermal mountains to vast fields of lava rocks and black volcanic sand. On the gloomy day of my Segment 1 hike, fog descended, making the rock cairns appear like ominous figures watching as I passed.
There are multiple glacier crossings on this segment, including one that appears like a scene from Interstellar. For glacier crossings, a pair of hiking poles is helpful for balance.
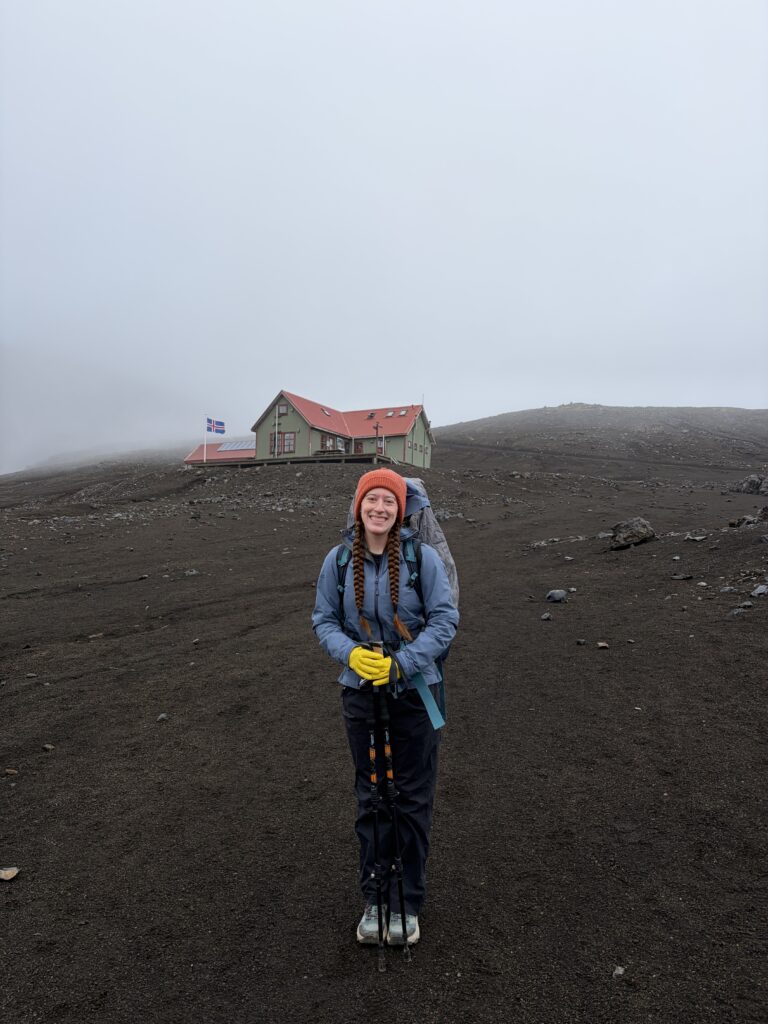
After 12 kilometers of hiking, you’ll reach the Hrafntinnusker hut, the high-elevation mountain hut. Some travelers choose to stay the night here, but most tent campers will continue on to Álftavatn hut, completing Segments 1 and 2 in a single day (24 kilometers total!). Winds can be ruthless at Hrafntinnusker so if you’re camping, you might want to continue on and complete Segment 2. If you’re staying in the Hrafntinnusker, this mountain hut is quite a unique experience!
Check it out on Instagram!
Here’s a look at Segment 1 of the Laugavegur Trail:
Segment 2: Hrafntinnusker to Álftavatn
- Laugavegur Segment 2 Distance: 12 kilometers
- Total Elevation Change: Approximately -550 meters (Start: ~1100m at Hrafntinnusker, End: ~550m at Álftavatn)
- Time to Complete: ~6 hours (I took a lot of breaks and a long lunch stop)
- Landscapes: Vibrant green geothermal mountains, prominent volcanic peaks, a beautiful lake beside the Álftavatn hut
- One Word to Describe It: VIBRANT
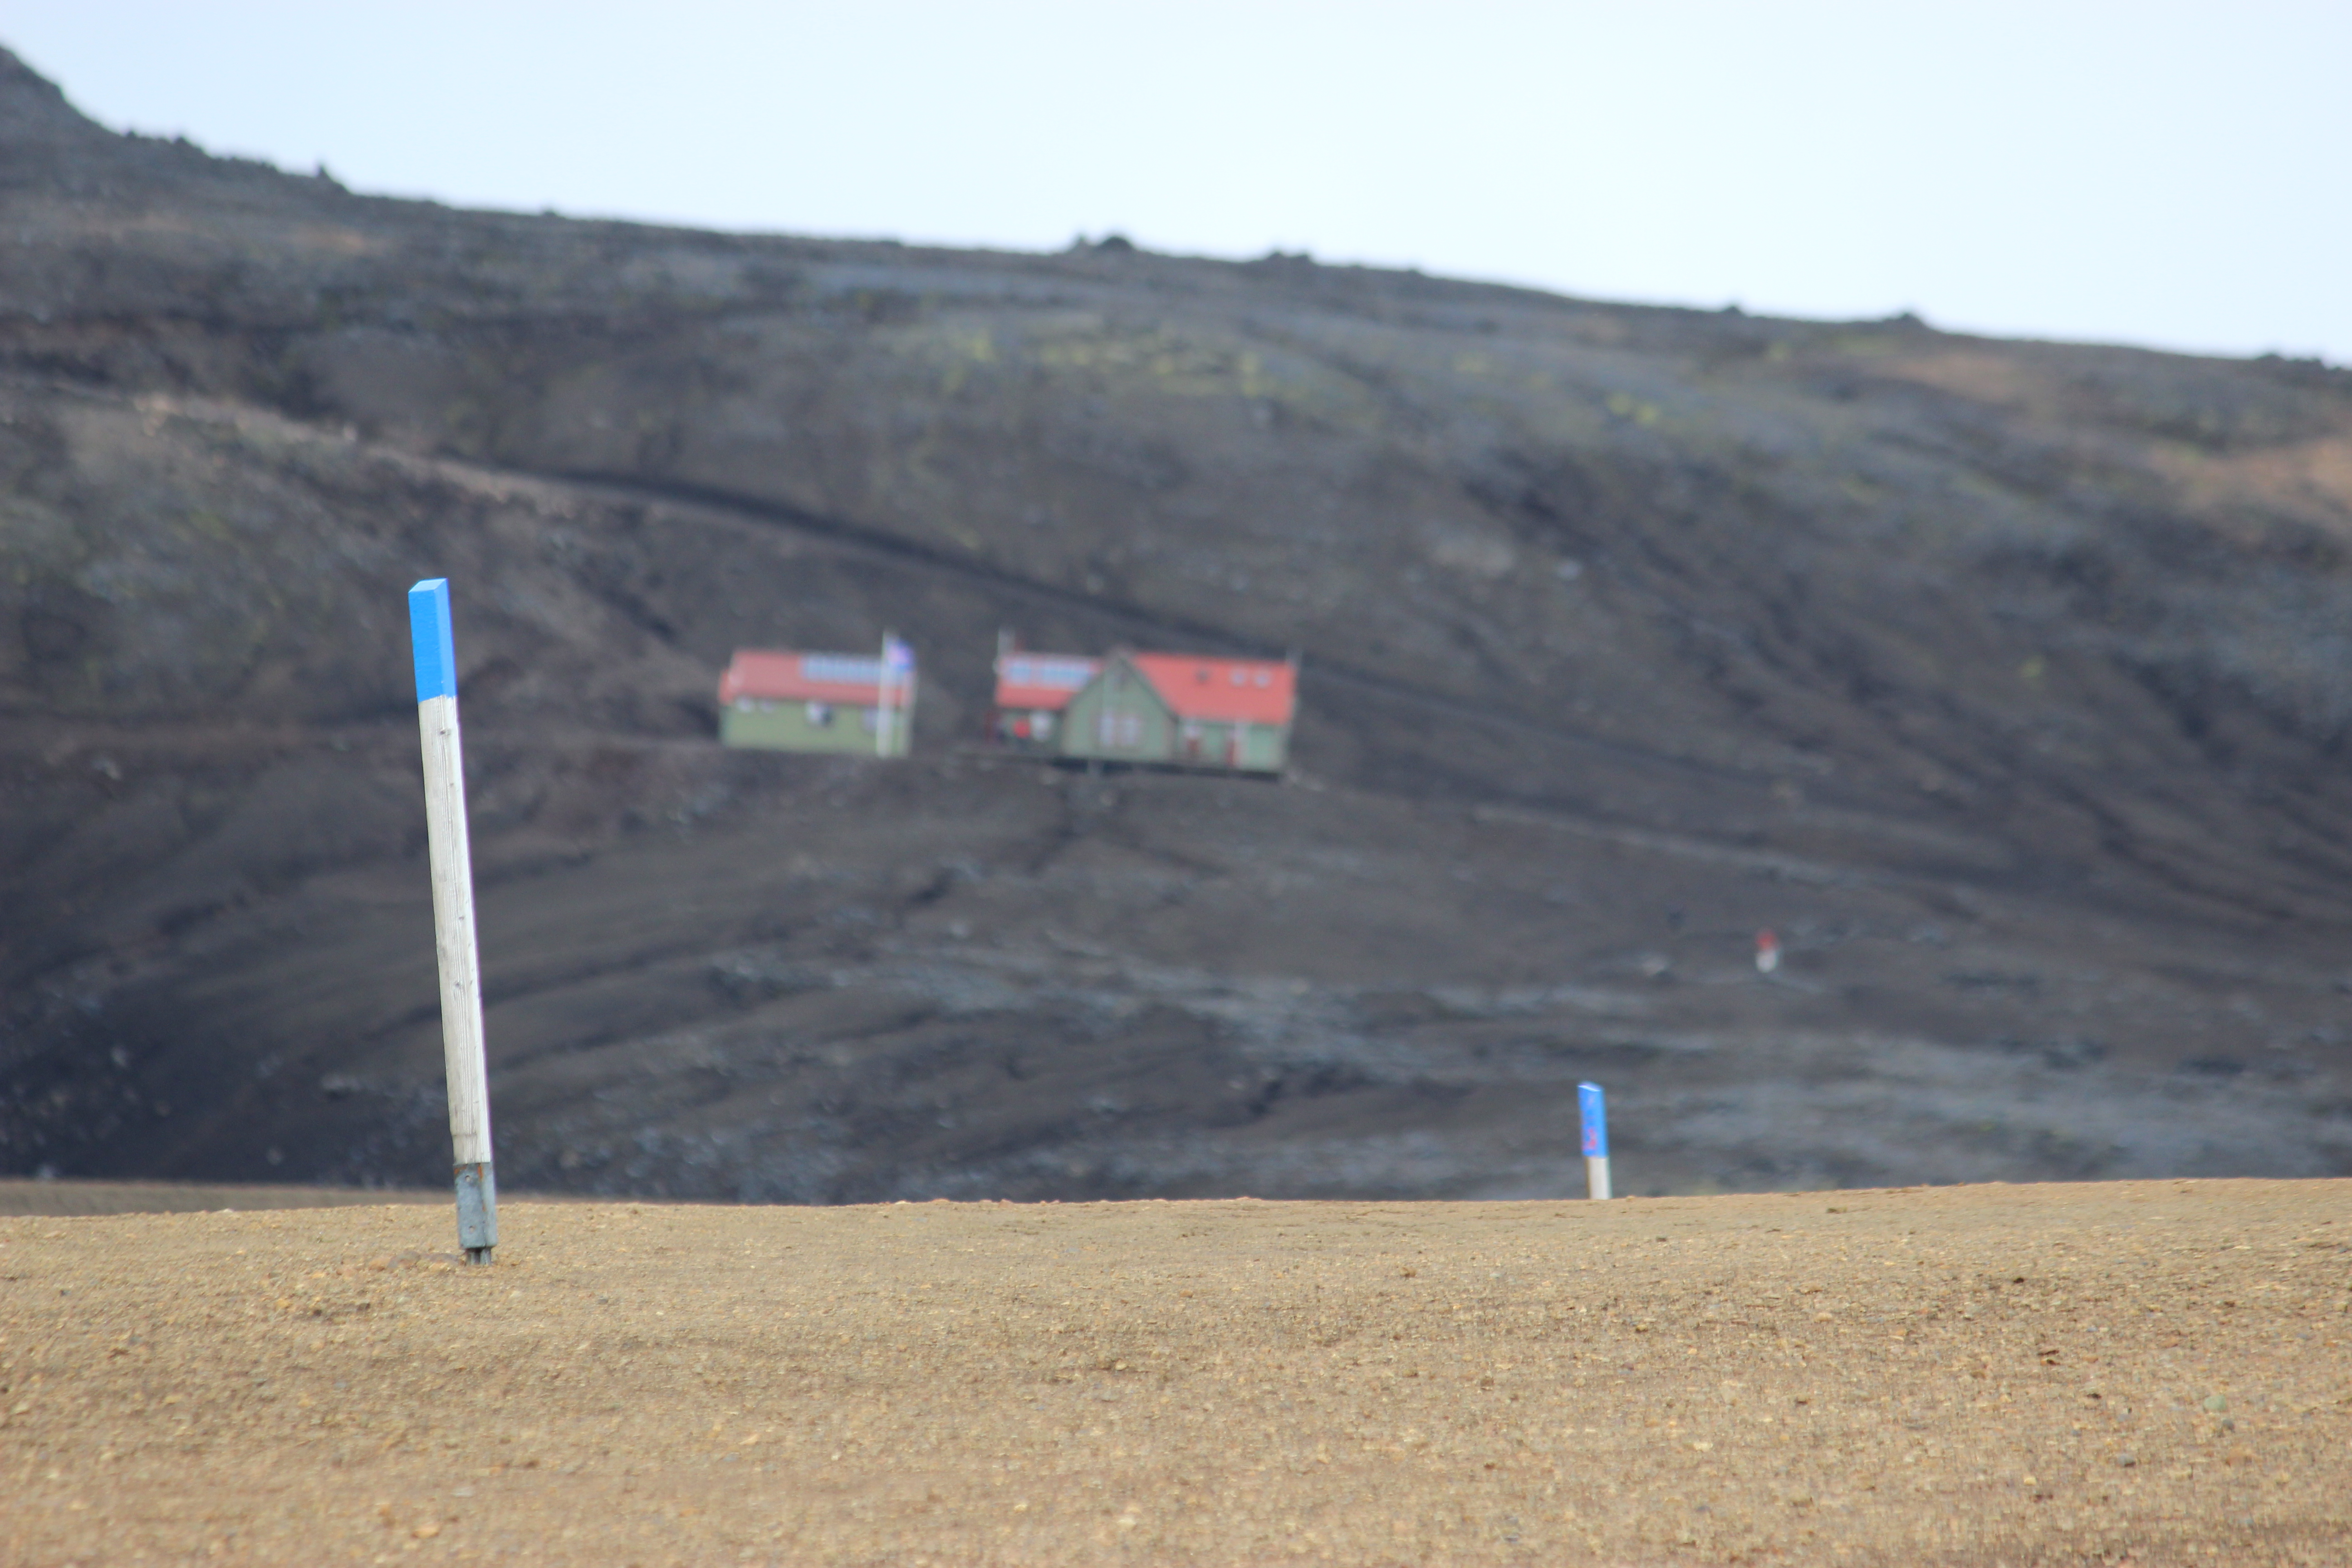
Segment 2 of the Laugavegur Trail is equal in distance to Segment 1. The landscapes of this 12-kilometer Segment begin with similar Rhoyalite mountains as those in the beginning of Segment 1, painted hues of tan, red and orange. As you continue along the trail, not only will you begin to descend, the mountains also transform into Palagonite peaks, vibrant moss-covered mountains in shades of green.
My experience on Segment 2 was VERY different from my experience on Segment 1. Segment 1 was windy, rainy and altogether very gloomy while Segment 2 was sunny, calm and generally very pleasant (no violent Icelandic winds or horizontal rains). I found myself spending extra time at rest stops to ruminate in the beauty of the landscapes. Just before Jökultungur, a 900 meter peak that overlooks the valley where the next hut resides, I stopped for a scenic lunch beside a geothermal spring.
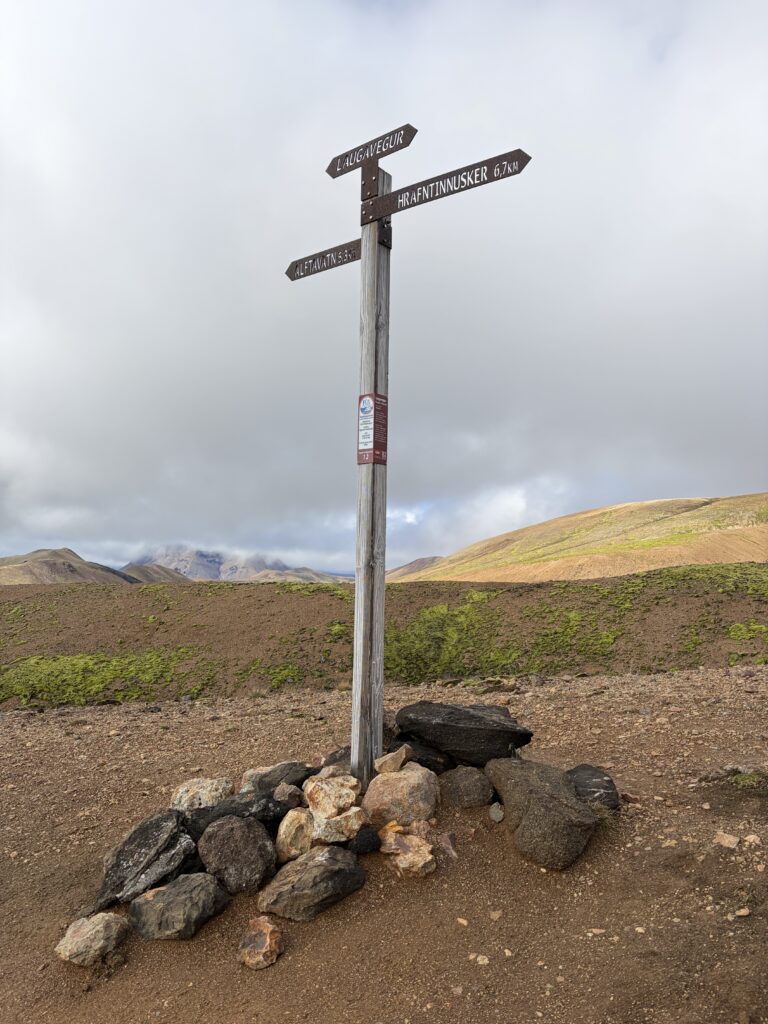
There’s a viewpoint with a landscape diagram on Jökultungur Peak so you can identify the glaciers in the distance and gaze at the prominent moss-covered volcanic peaks in every direction. From this viewpoint, it is a steep descent into the valley where the Álftavatn hut lies. I highly recommend you have hiking poles, they’ll be useful for this descent.
Once you make it down Jökultungur Peak, the last of the Rhyolite Peaks before the landscapes turns green, you’ll reach your FIRST river crossing. Take off your shoes, unclip your pack from your waist and chest, and prepare for the icy chill of the river!
After the big descent, the landscape is relatively flat to the Álftavatn hut. When I arrived joyfully at the Álftavatn hut, on a rare day without wind, I was greeted by a kind Icelandic grandmother who offered homemade goodies. Álftavatn was my favorite hut of the five – it was cozy, comfortable and had a separate “dining” hut with a restaurant operated by the kindest Spanish couple. Under the glow of the summer sun, I sat by the lakeshore listening to the waves lapping at the shore. This is heaven I kept telling myself.
Check it out on Instagram!
Here’s a look at Segment 2 of the Laugavegur Trail:
Segment 3: Álftavatn to Emstrur
- Laugavegur Segment 3 Distance: 16 kilometers
- Total Elevation Change: Approximately -85 meters (Start: ~550m at Álftavatn, End: ~465m at Emstrur)
- Time to Complete: ~6 hours
- Landscapes: Prominent green volcanic peaks, vast fields of lava rocks and volcanic sand, glaciers in the distance
- One Word to Describe It: LUNAR
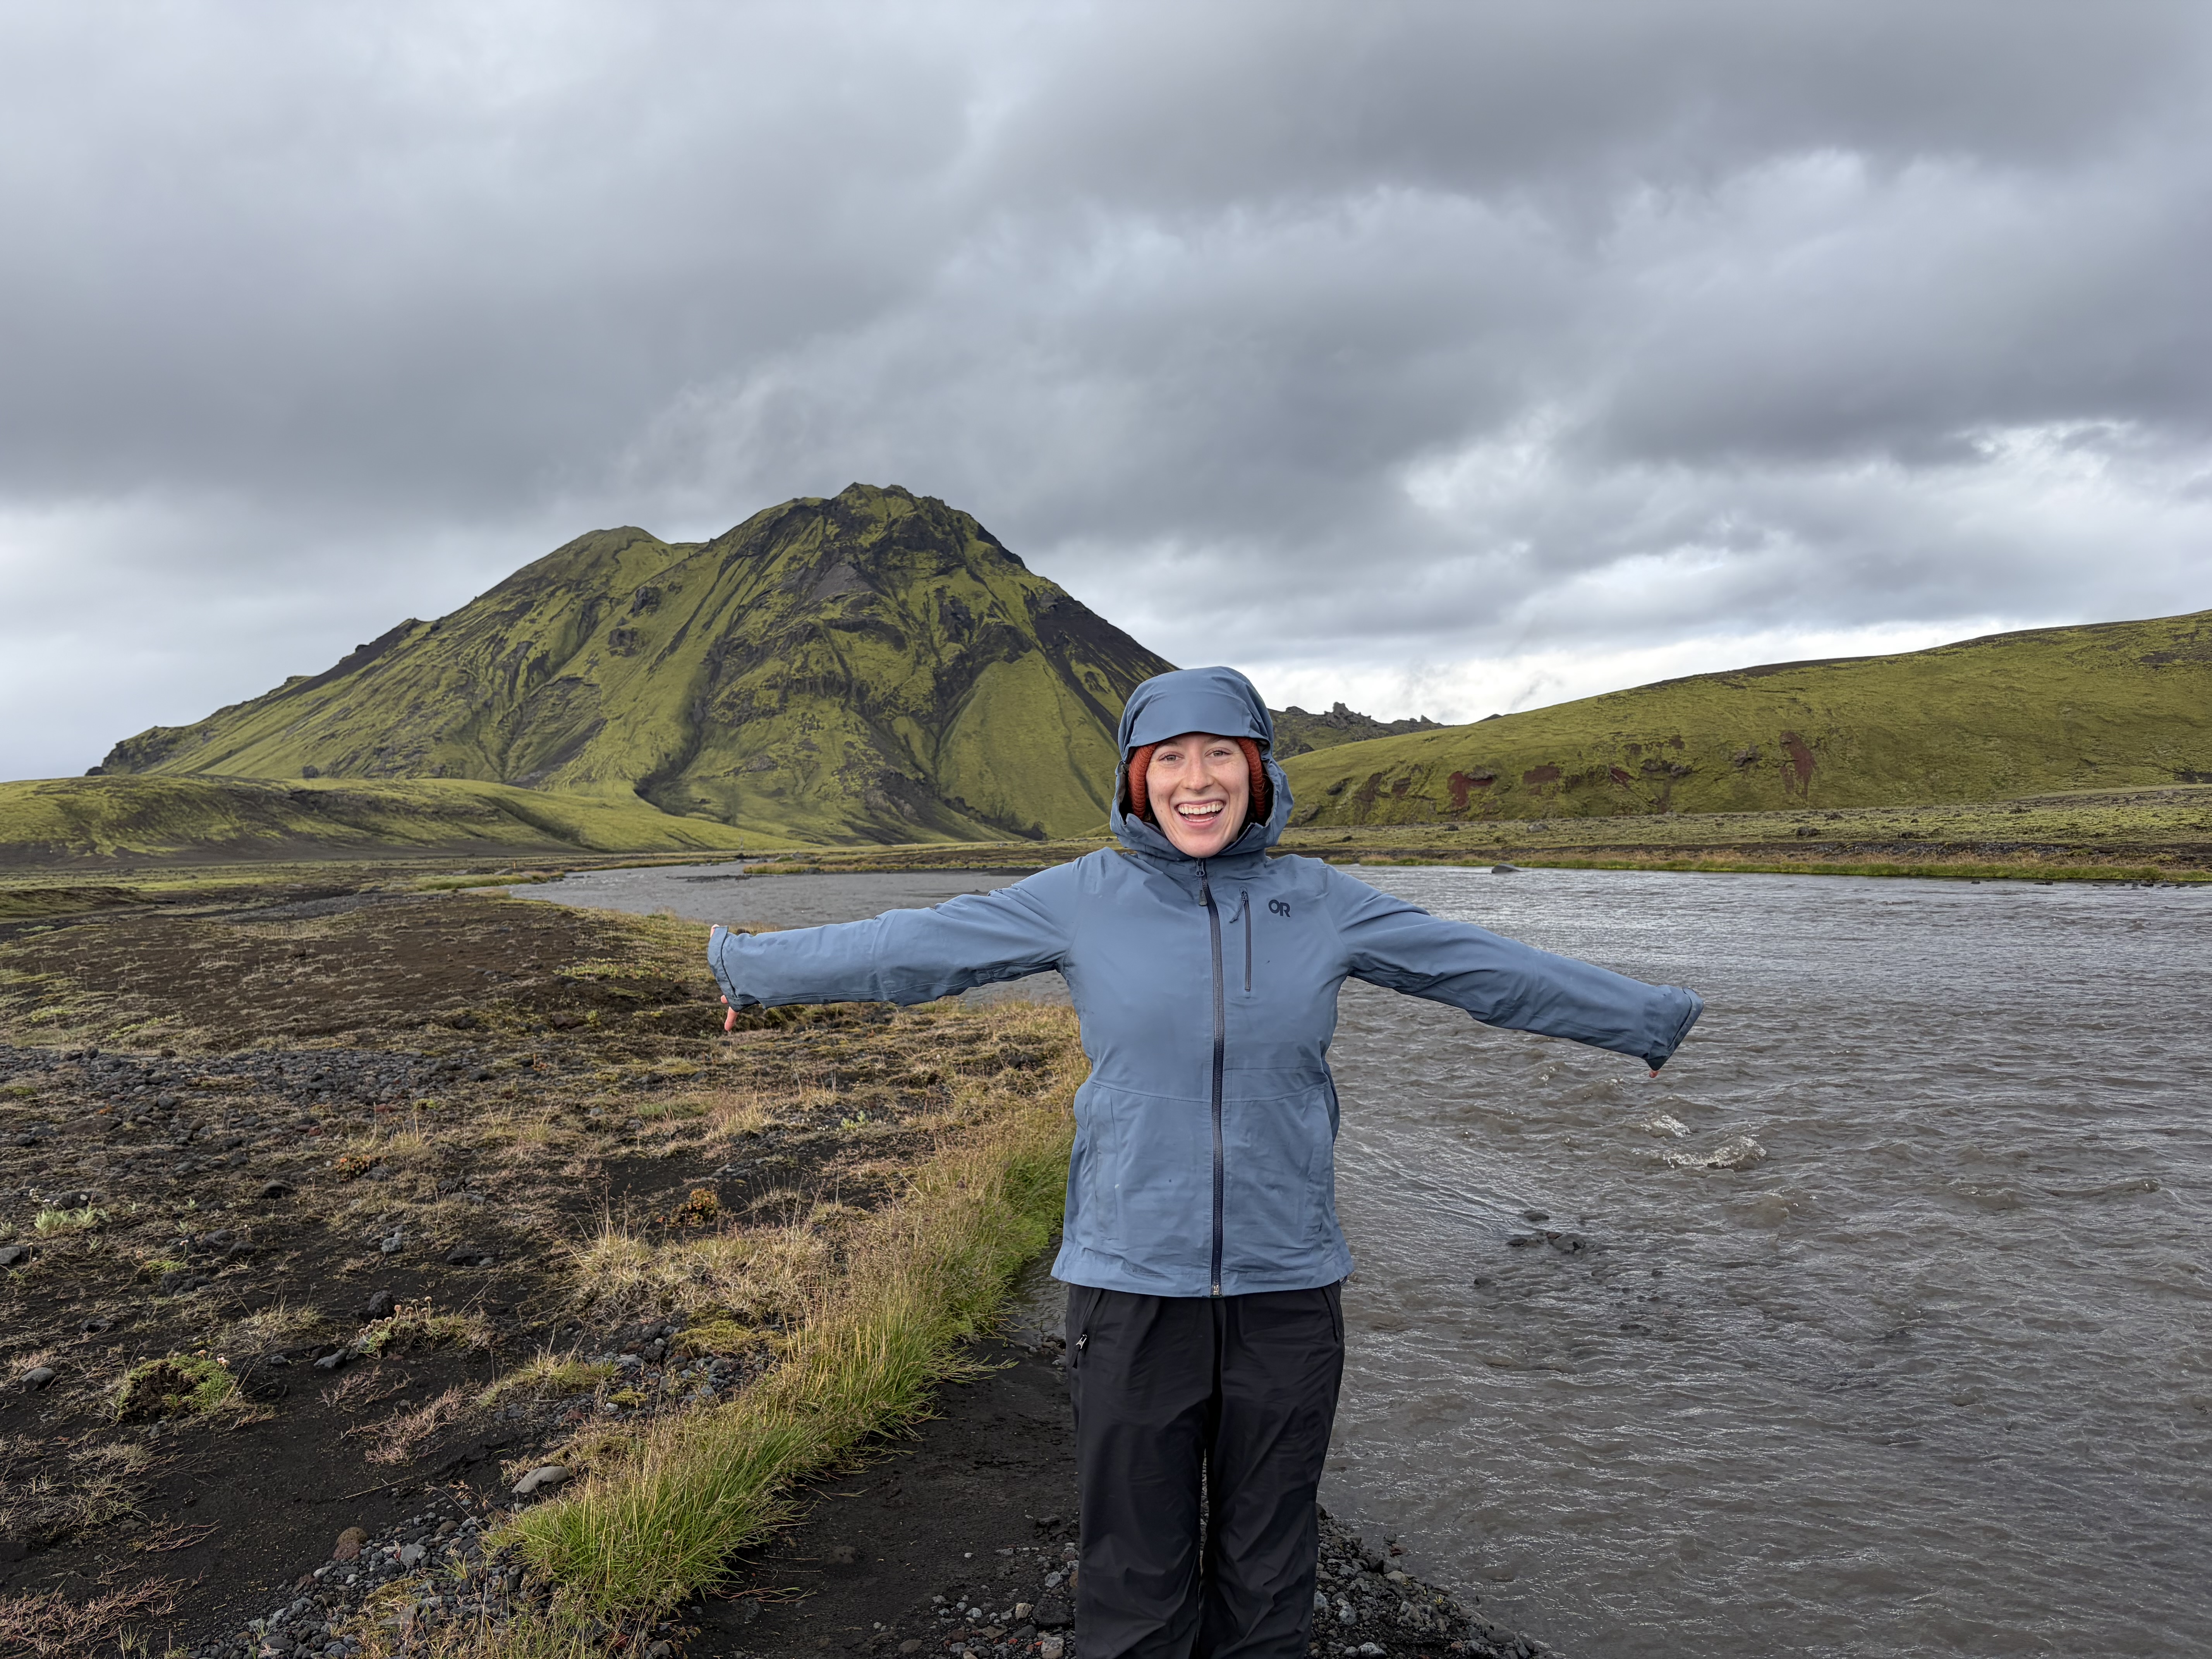
Segment 3 of the Laugavegur Trail is approximately 16 kilometers and is relatively flat for most of the hike (net elevation change of -85 meters). Starting at Álftavatn or Hvanngil hut, you’ll pass prominent green volcanic peaks and walk through lunar landscapes. From Álftavatn to Emstrur it is approximately 16 kilometers, and from Hvanngil to Emstrur it is approximately 12 kilometers. If you’re staying at Álftavatn, the Hvanngil hut is a great place to stop for hot chocolate before the major river crossing!
My experience hiking Segment 3 of the Laugavegur trail started off with raging winds, a complete opposite to the peaceful, calm weather from the night before. A morning a pouring rain made me wish I could spend more time in the warm hut.
This Segment of the Laugavegur Trail has three river crossings and the most treacherous river crossing of the entire trek. The first crossing is a small stream called Bratthálskvísl, the second is a bridge crossing over Kaldaklofskvísl with water too fast and deep to cross on foot, and the third crossing is at a wide river called Bláfjallakvísl. Like most river crossings on the Laugavegur Trail it’s helpful to take off your shoes, unclip your pack and use your poles for balance. I crossed Bláfjallakvísl hand in hand with my boyfriend for extra support.
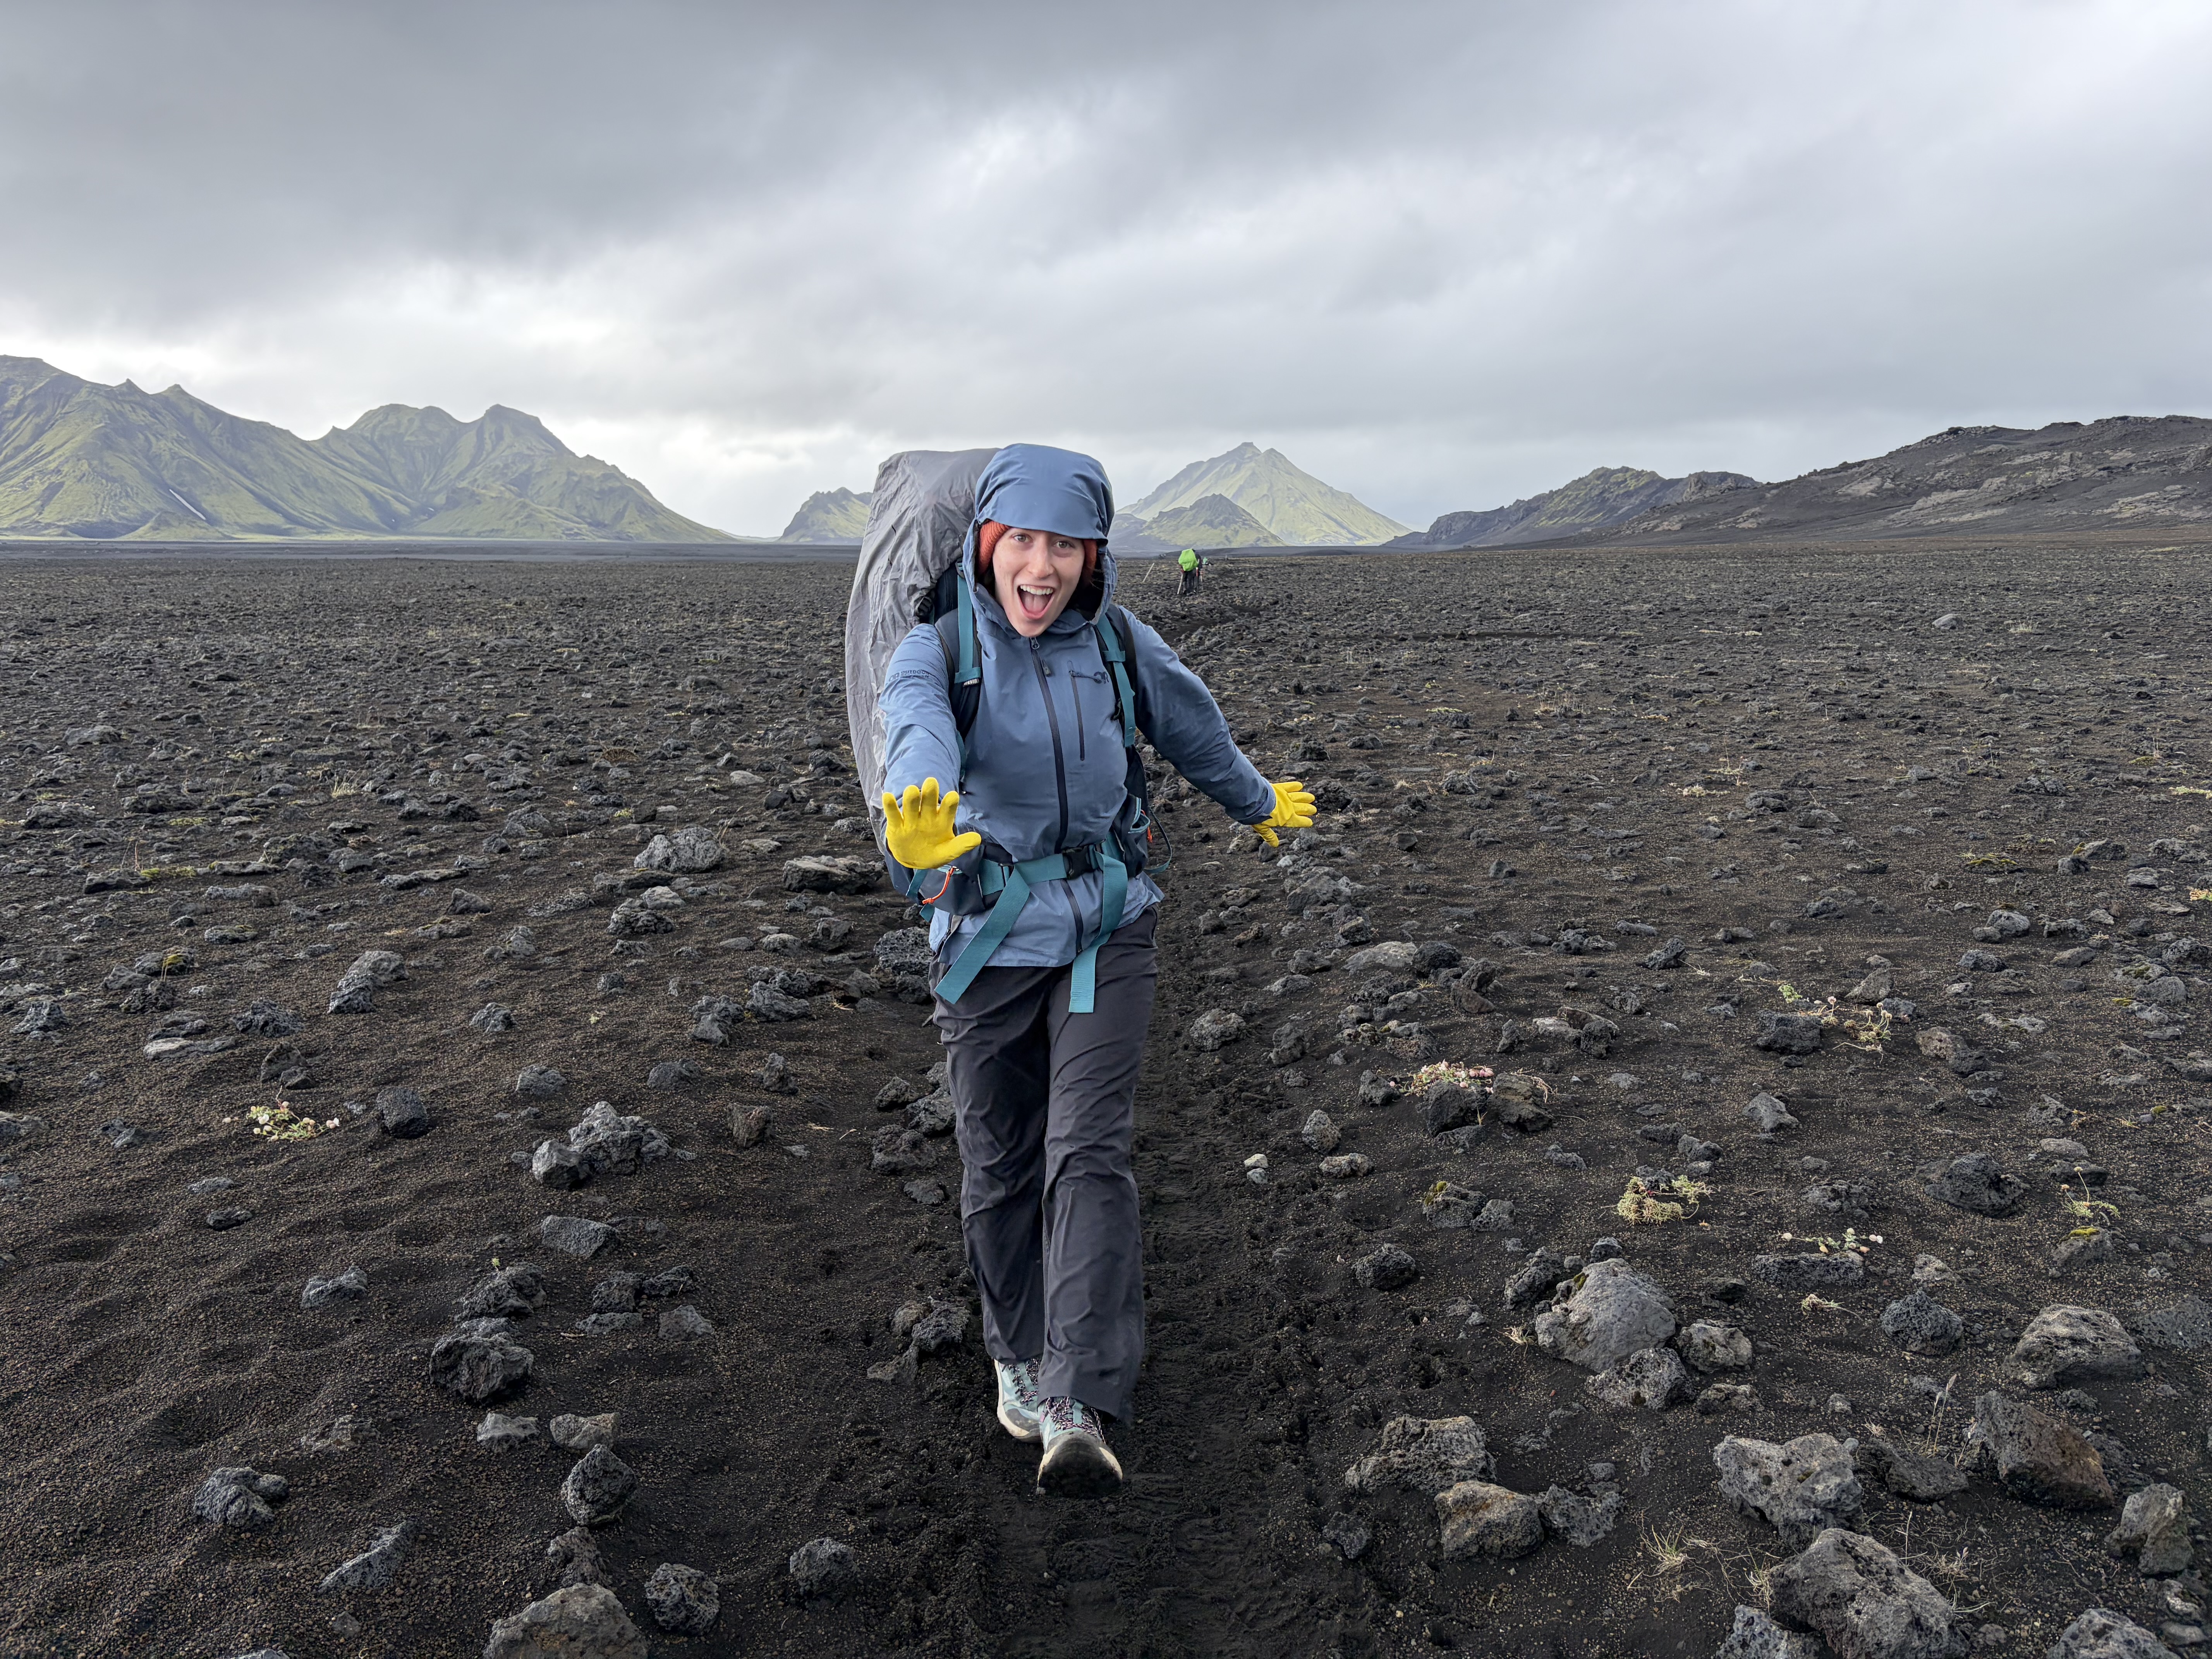
Once you cross the major river, the landscape flattens and the trail traverses through soft volcanic sand. Moss-covered peaks spread on both sides of the trail and large glaciers can be seen in the distance on a clear day. Lunar-like and otherworldly, this segment will make you feel like an astronaut on the moon!
Check it out on Instagram!
Here’s a look at Segment 3 of the Laugavegur Trail:
Segment 4: Emstrur to Thórsmörk
- Laugavegur Segment 4 Distance: 15 kilometers
- Total Elevation Change: Approximately -200 meters (Start: 465m at Emstrur, End: ~200m at Thórsmörk)
- Time to Complete: ~7 hours
- Landscapes: Monumental canyons carved by rivers, flat grasslands with views of distant glaciers
- One Word to Describe It: MONUMENTAL
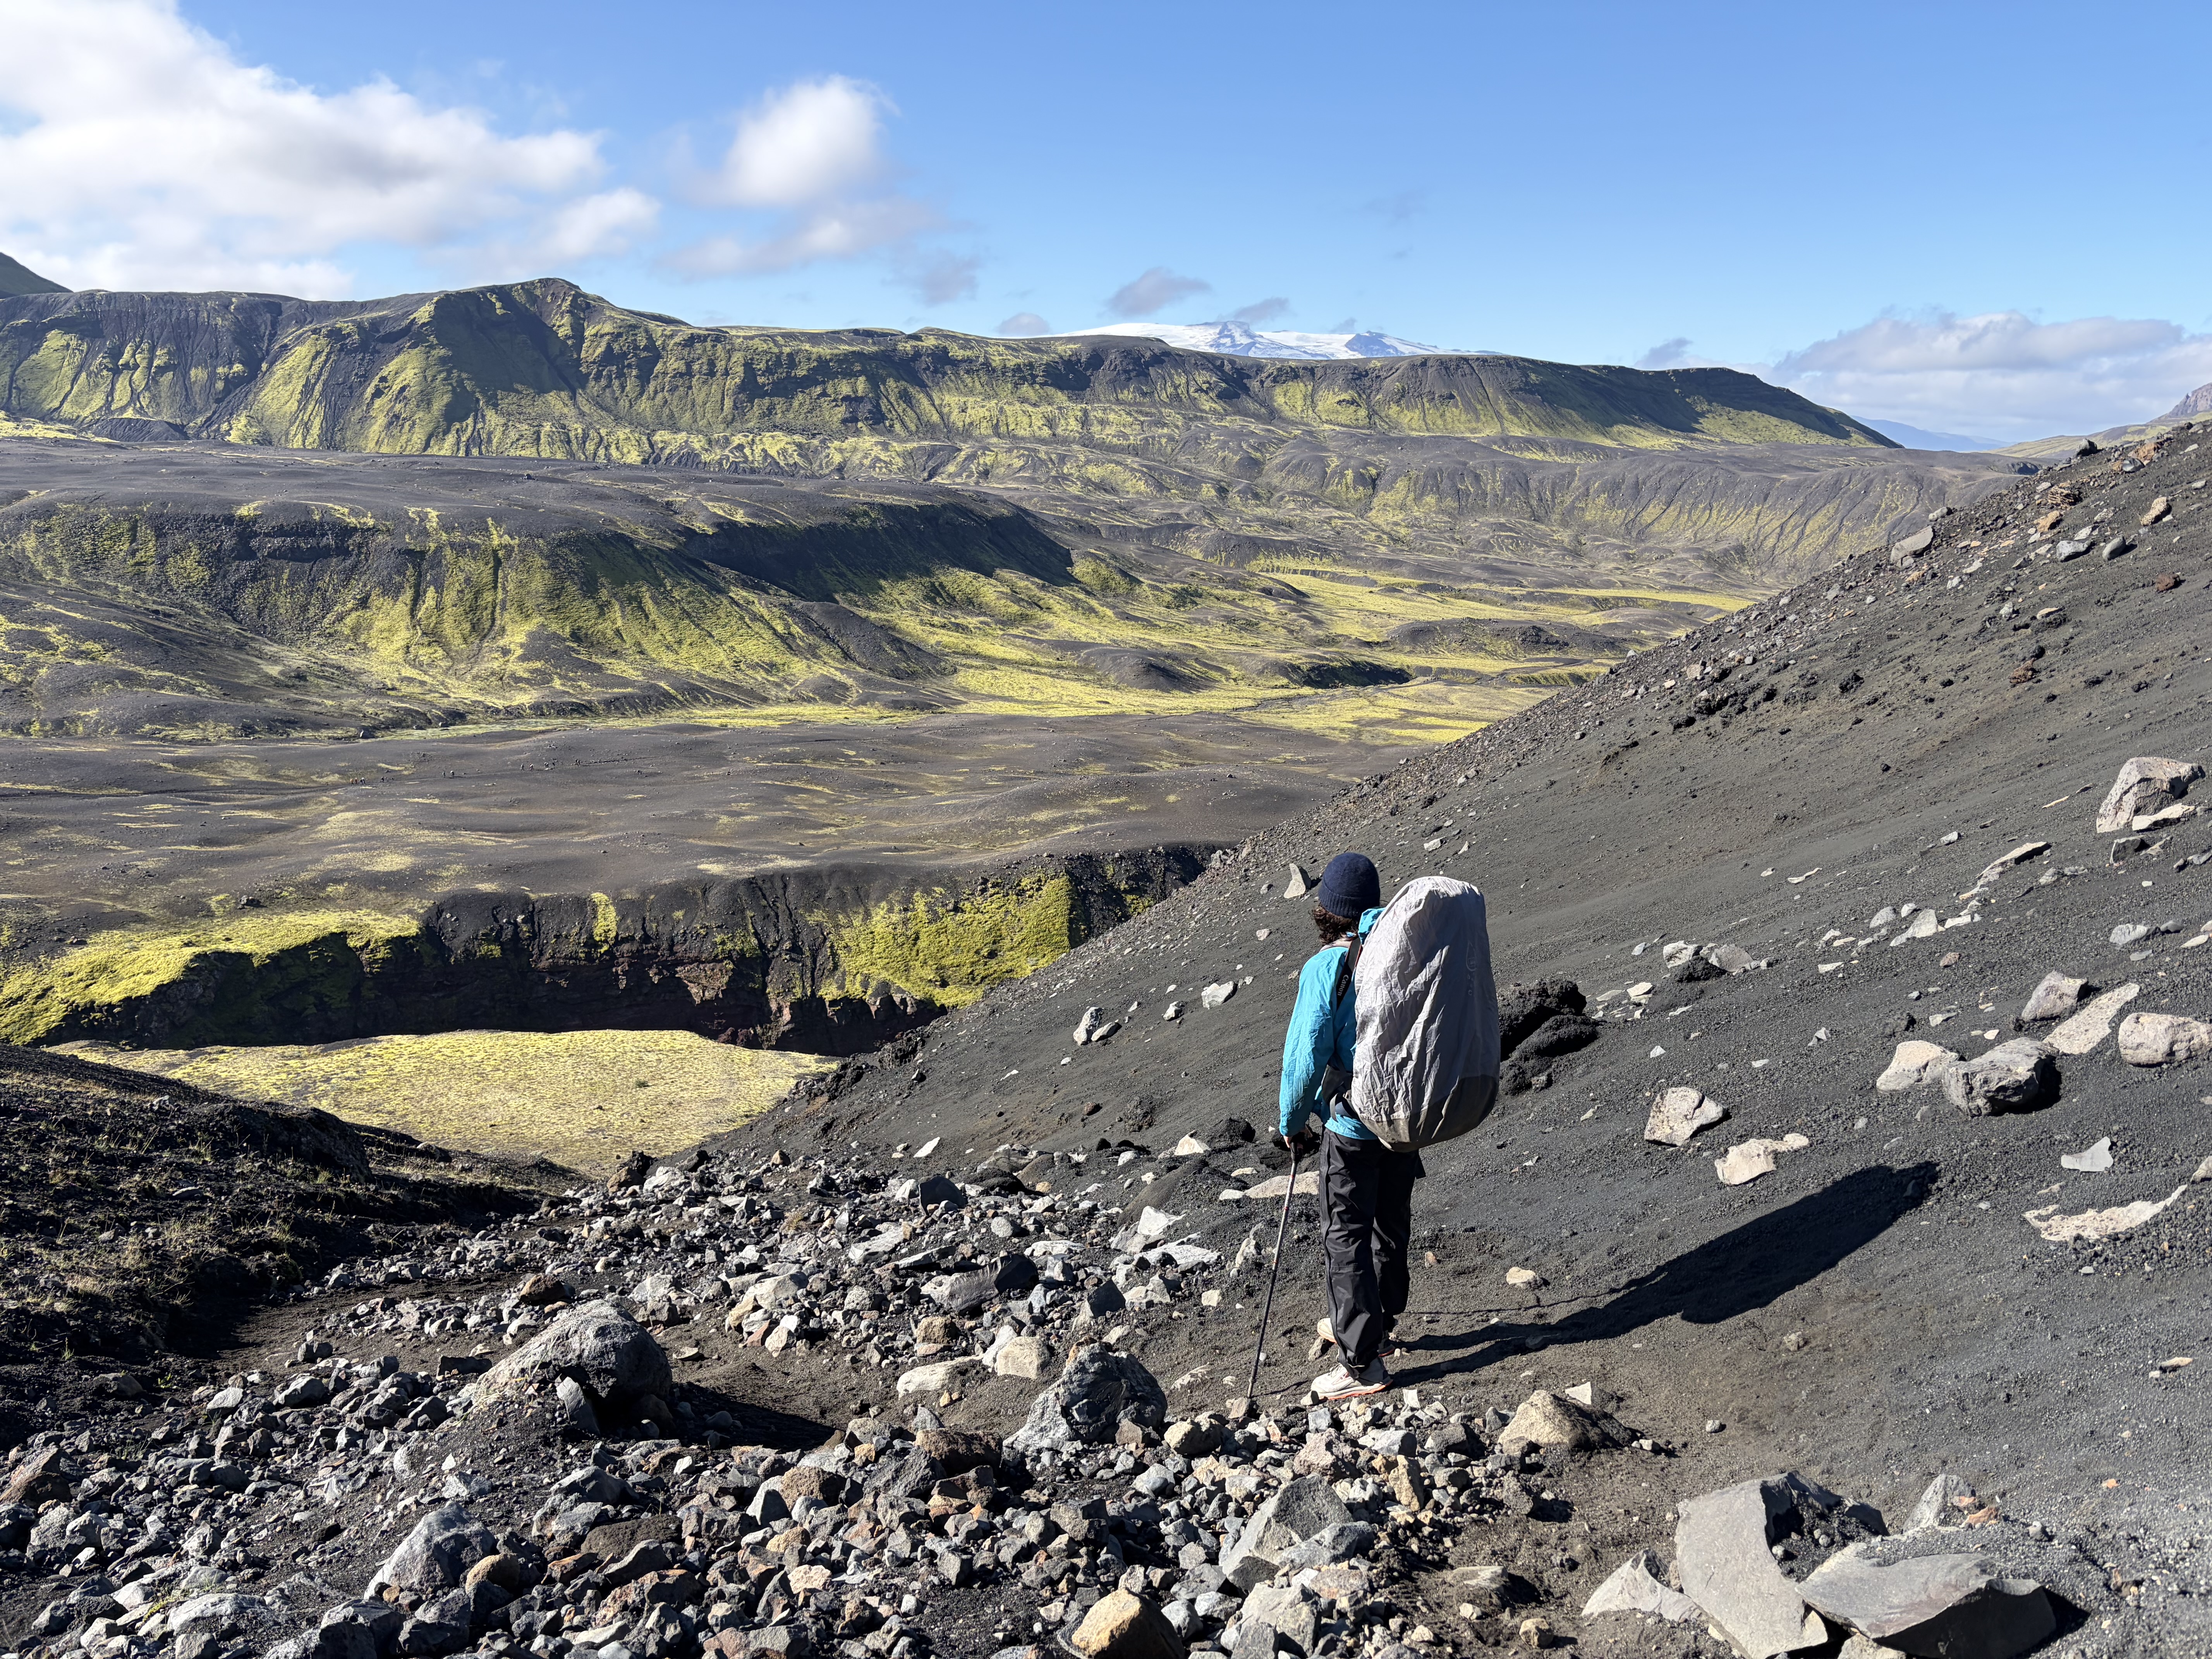
The Emstrur hut marks the beginning of another dramatic shift in the types of landscapes on the Laugavegur Trail. The terrain transitions from glacier-carved canyons and monumental landscapes to flat grassland with incredible views of ancient ice formations (the three glaciers). Segment 4 of the Laugavegur Trail from Emstrur to Thórsmörk, the official end of the trek, is approximately 15 kilometers.
Emstrur is adjacent to a monumental canyon, Markarfljótsgljúfur, which is accessible via a short hike or a ~5 kilometer loop trail. This awe-inspiring canyon is nearly 10 kilometers long and over 200 meters deep. Hikers completing the Laugavegur Trail are some of the lucky few who can witness this astonishing natural landscape.
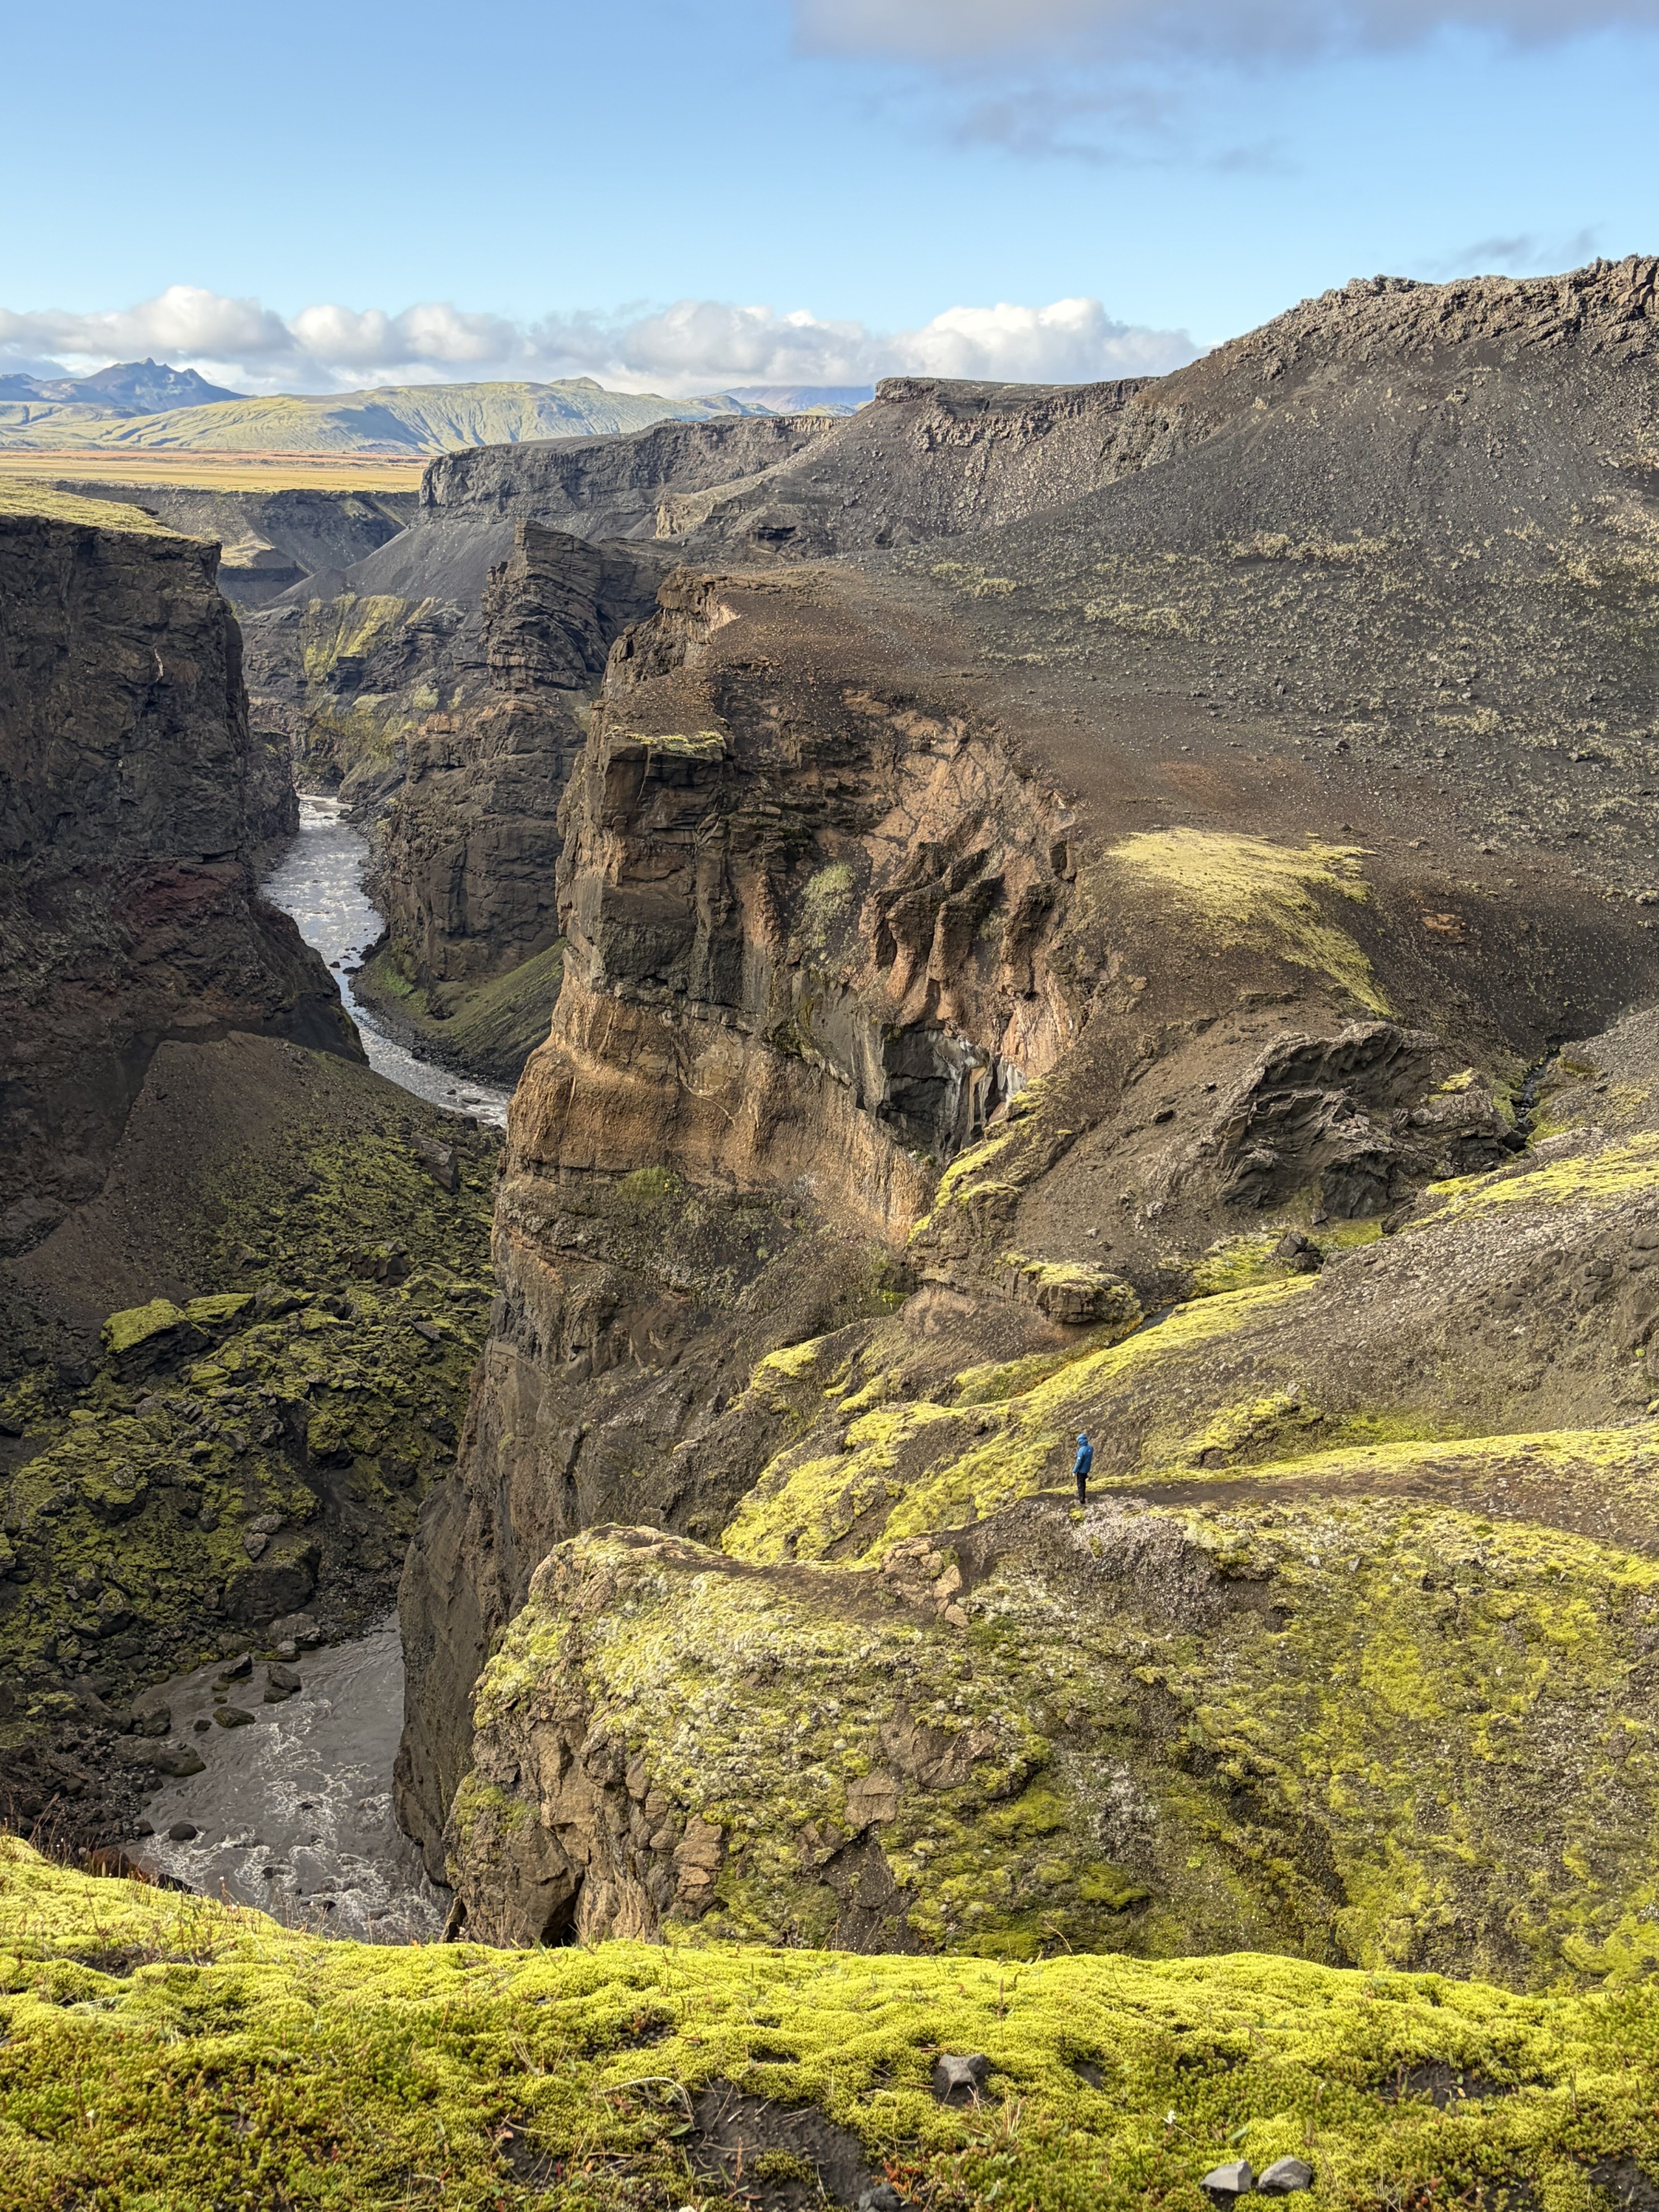
The rolling terrain of Segment 4, constant ups and downs, made this part of the trek more technically challenging that the other segments but scenic flat stretches became the perfect place to stop and enjoy the views.
The final river crossing of the Laugavegur Trail required some tedious planning to avoid deeper sections of the river. The Þröngá (Pronga) River is the last river to cross on the Laugavegur Trail. Fed by the melted ice from the glaciers above, this is one of the coldest rivers on the trek. I ended up crossing multiple smaller streams to avoid the deep sections, painfully stumbling on pins and needles while trying to balance.
Once you cross the river, vegetation thrives on the other side. You’ll trek through dense birch forests before reaching the official end of the Laugavegur Trail at Thórsmörk. Don’t forget to take a picture in front of the “End of Trail” sign!
Check it out on Instagram!
Here’s a look at Segment 4 of the Laugavegur Trail:
Conclusion: Is the Laugavegur Trail Worth It?
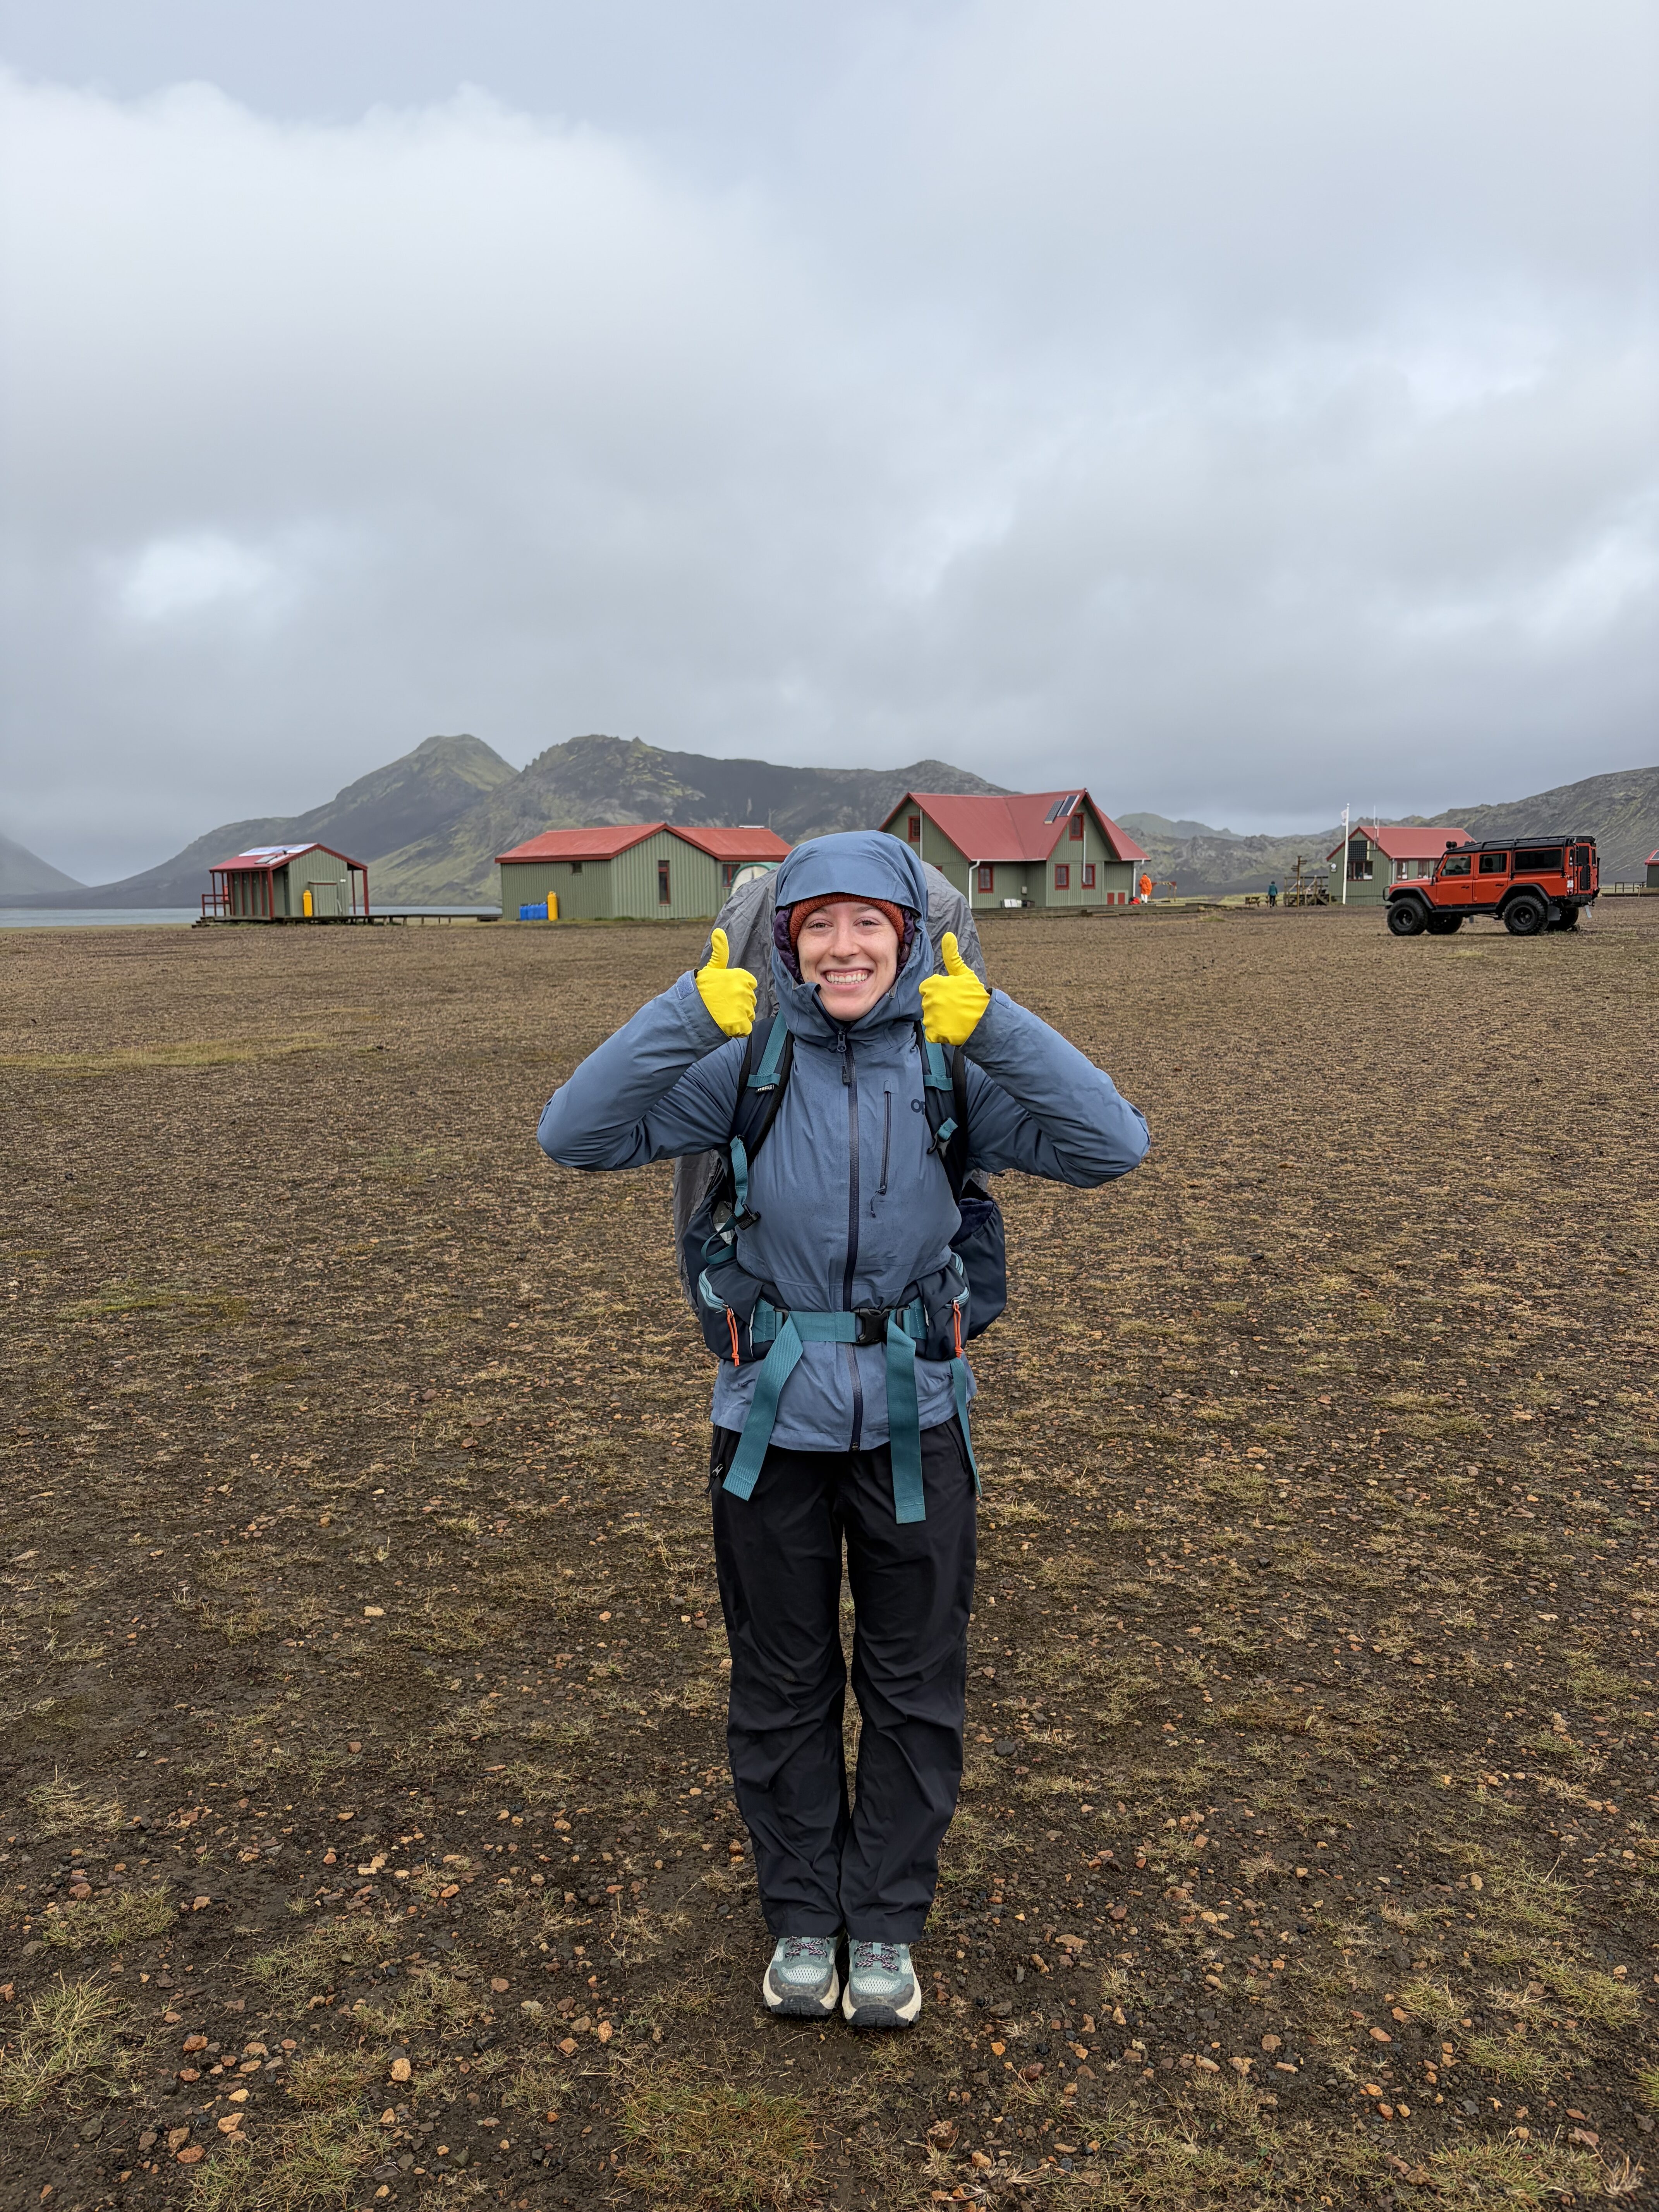
The Laugavegur Trail is one of the most incredible multi-day treks in the entire world. Colorful geothermal mountains transition into moss-covered prominent peaks in Segments one and two. Lunar landscapes make you feel like you’re on another planet in Segment three. Valleys carved by prominent glaciers still present after thousands of years stand formidably over Segment four.
Hiking the Laugavegur Trail is an experience any avid hiker should complete in their lifetime! Every aspect of this trail, including the unpredictable Icelandic weather, is SO WORTH IT!